


The desk you left in June is not the desk you need in September. Before you buy anything to fix a cramped setup, spend twenty minutes resetting the one you already have. Most of what makes a two- or three-screen desk feel good is placement, not hardware — and placement is free.
Put the main screen at arm's length
Sit the way you actually sit, then stretch one arm straight out. Your fingertips should land roughly at the middle of your primary screen. Closer than that and you spend the day leaning back; further and you lean in. Then raise it: the top edge should sit at or just below eye level, so your neck stays neutral and your gaze drops slightly to read. A laptop on the desk fails both tests, which is the real reason a second surface helps — it lets you push the thing you stare at up and back to where your neck wants it.
Angle the second screen, don't just park it
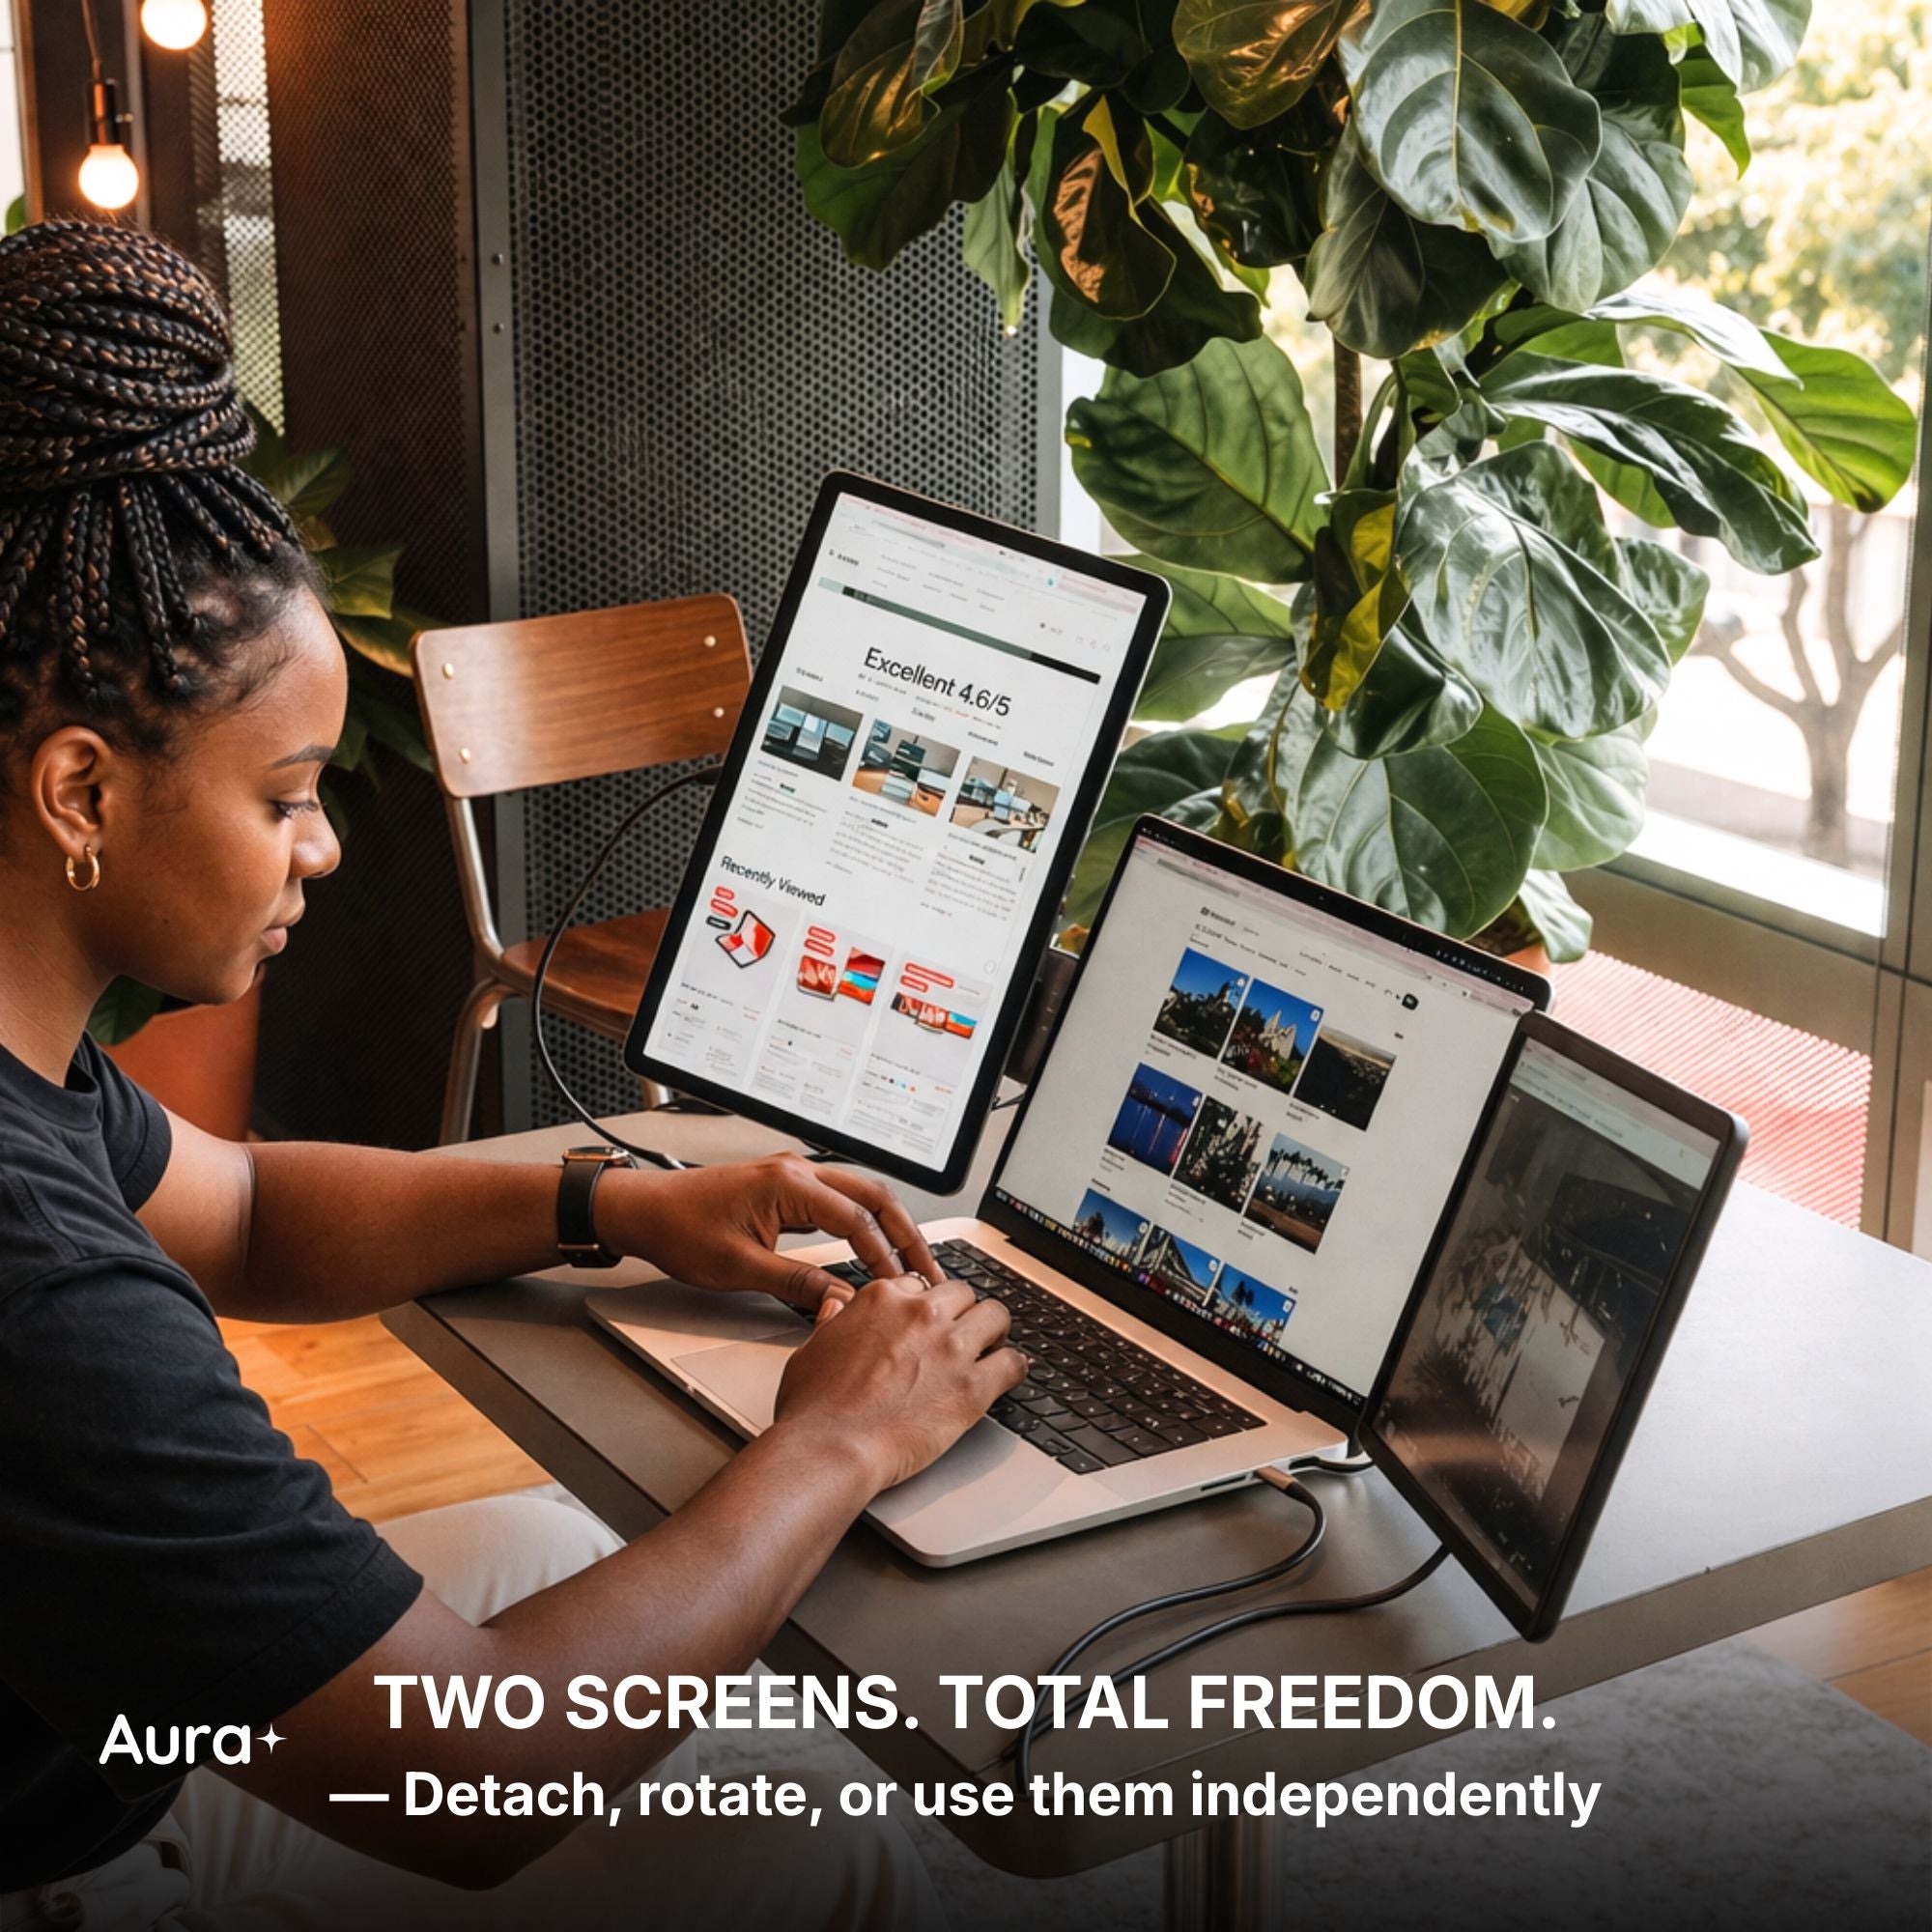
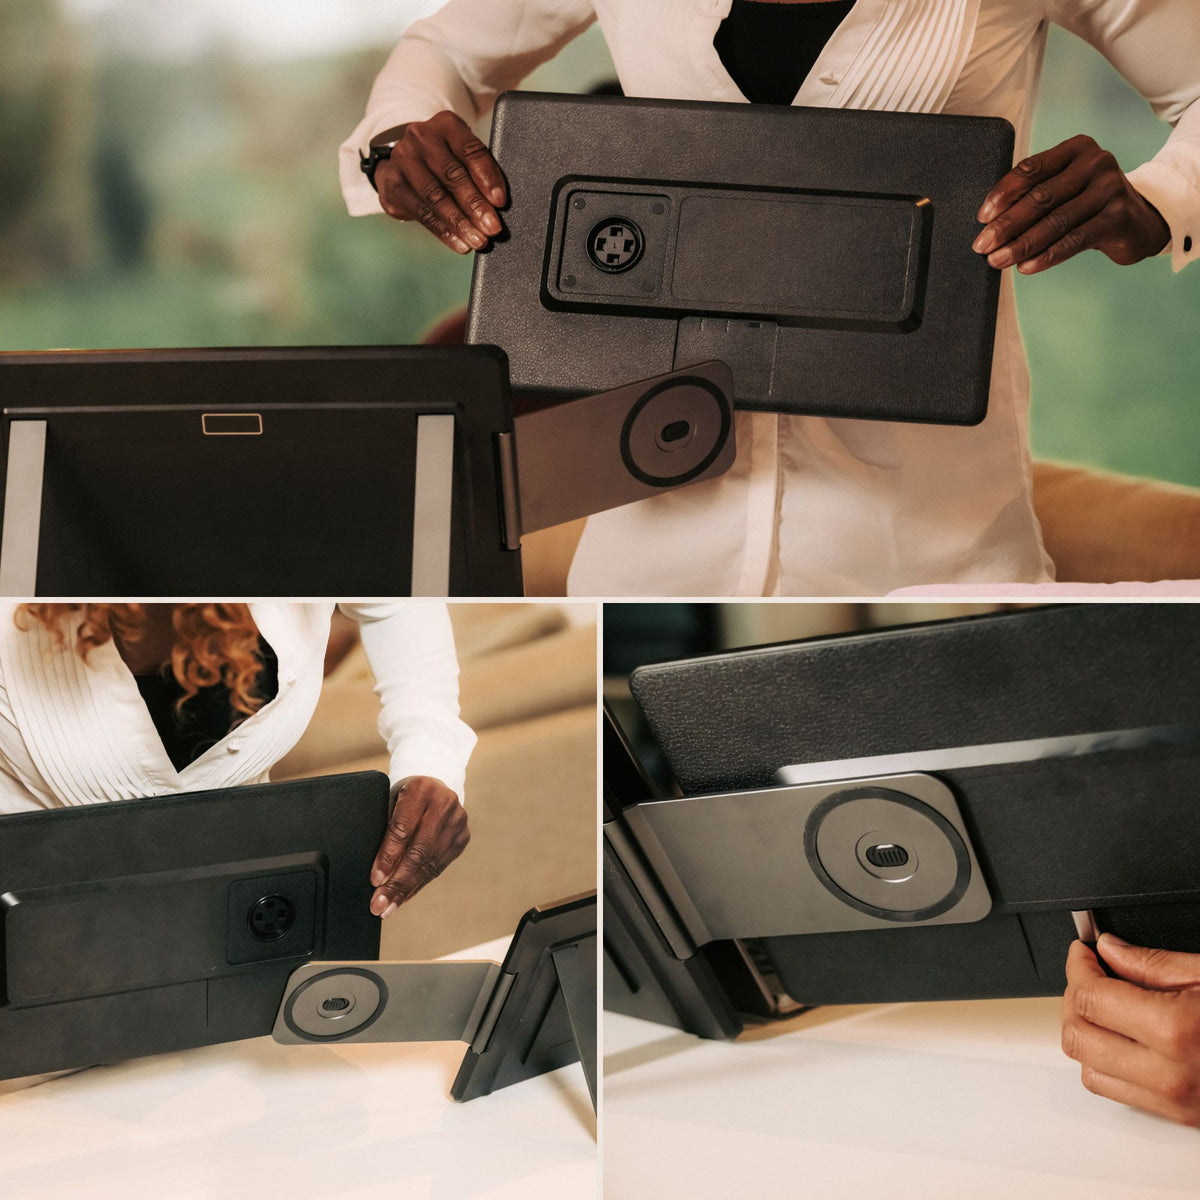
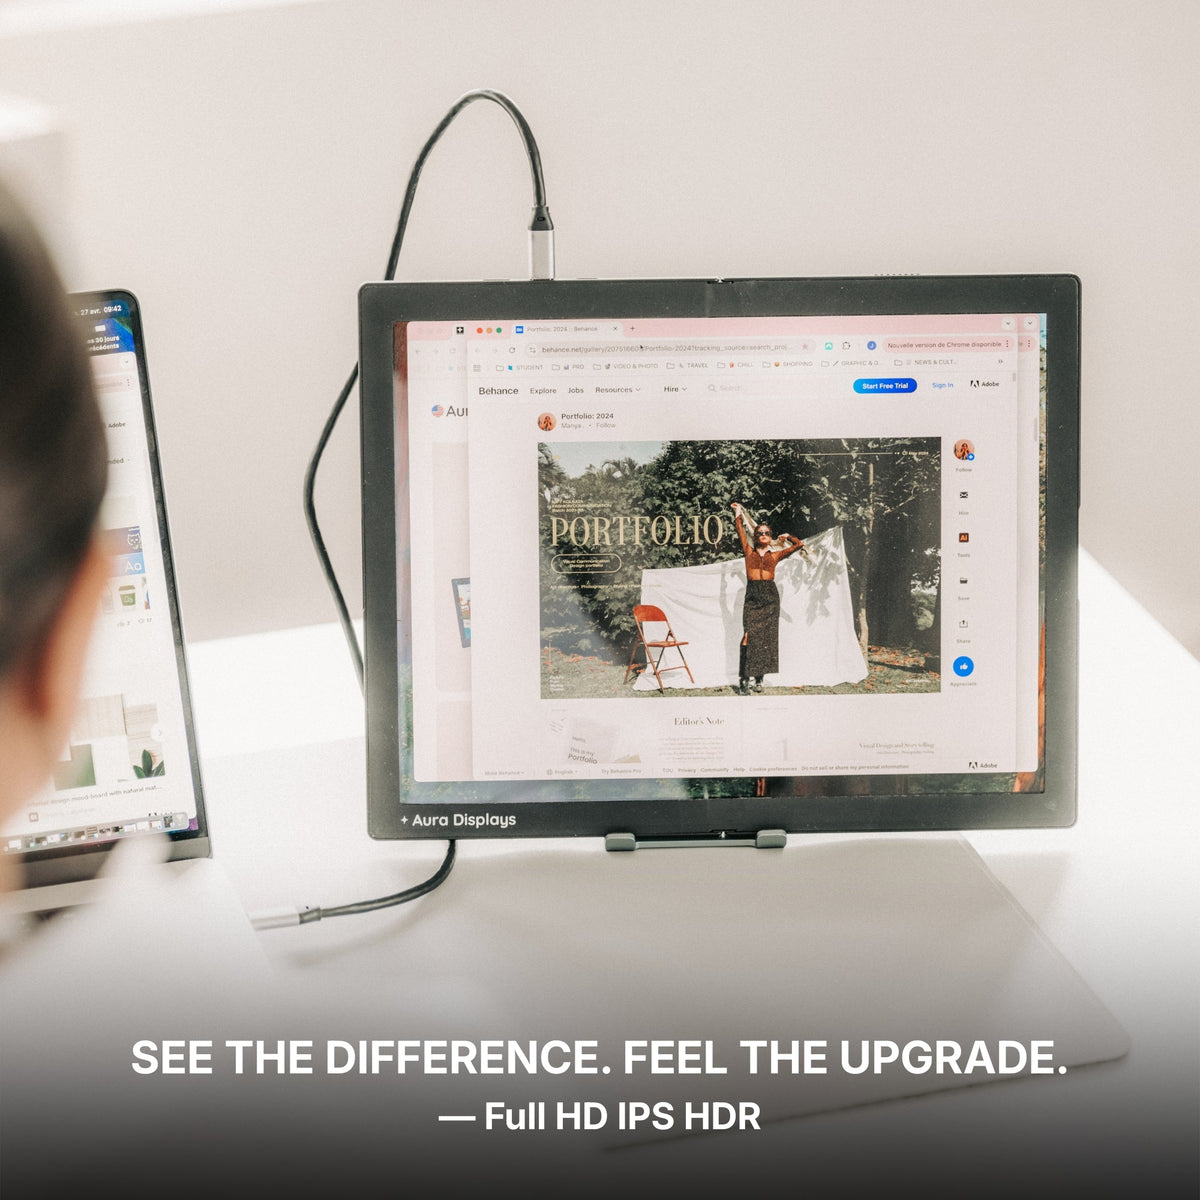
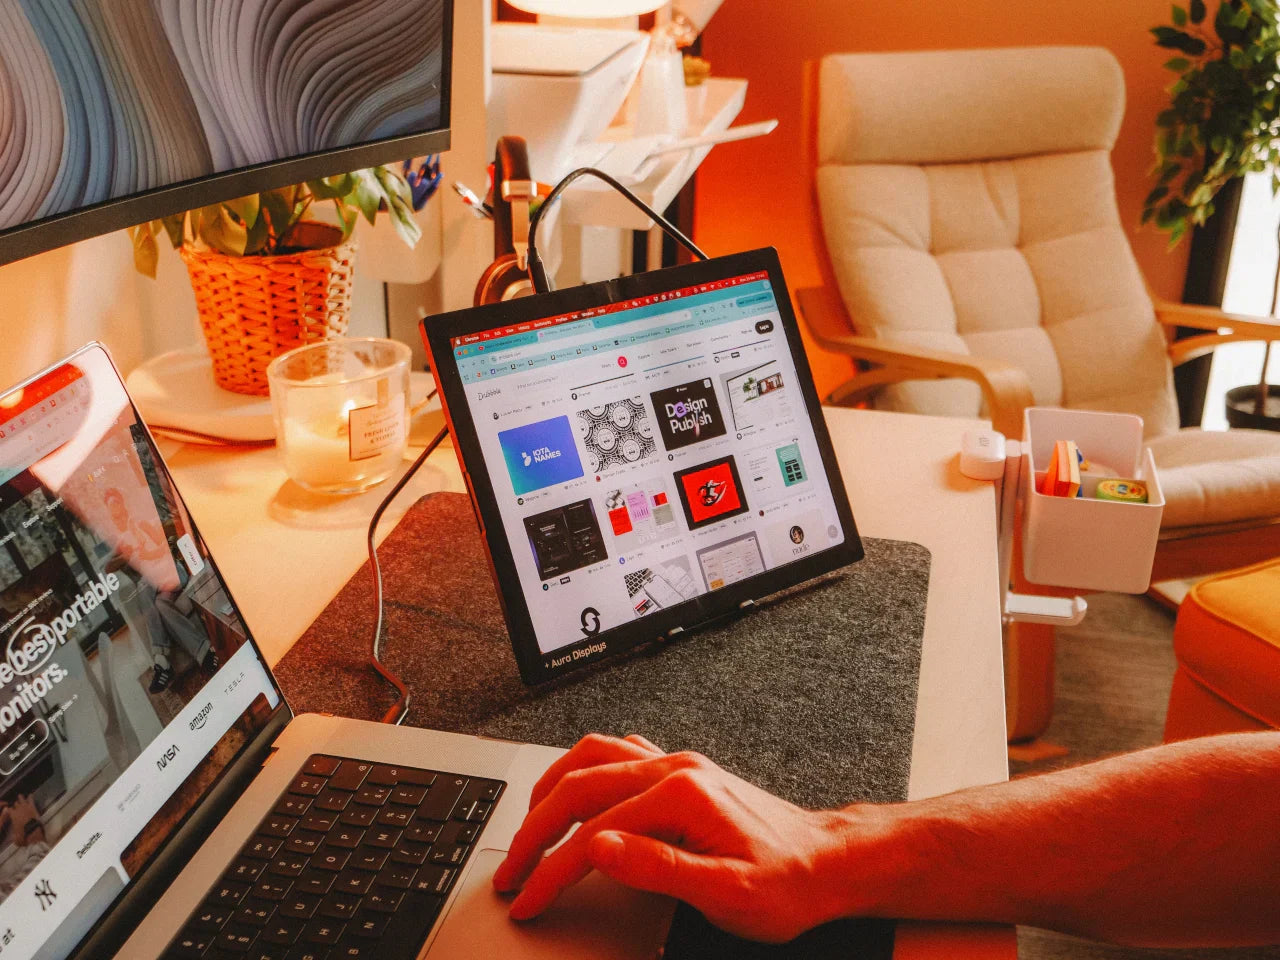
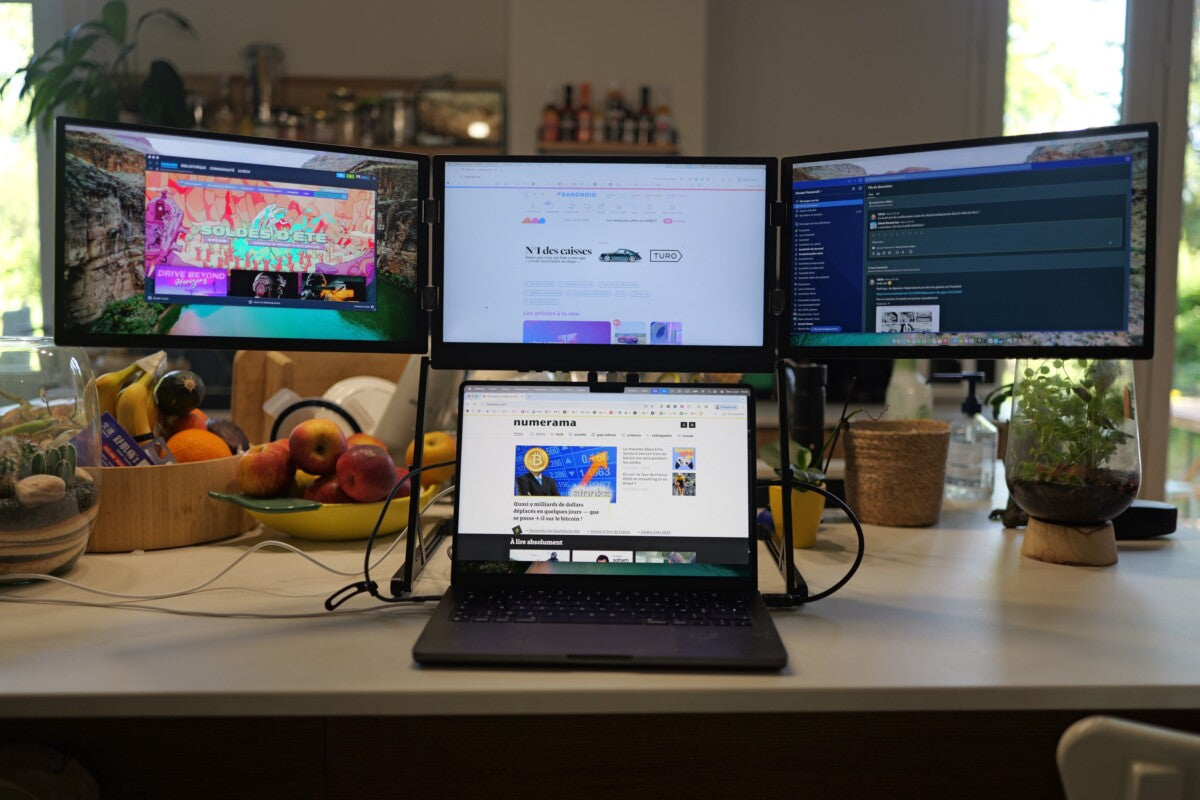
The most common mistake is standing a second screen flat, square to the wall, beside the first. That forces a full head turn every time you glance at it. Instead, angle it inward toward you at roughly 30 degrees, so it curves around your line of sight. You should be able to move between screens with your eyes and a small neck turn, not a shoulder swivel. A screen that mounts on the laptop lid or clamps magnetically is easier to nudge to the right angle than a monitor on a fixed stand — that adjustability matters more day to day than a spec sheet does.
Never seat a screen in front of a window
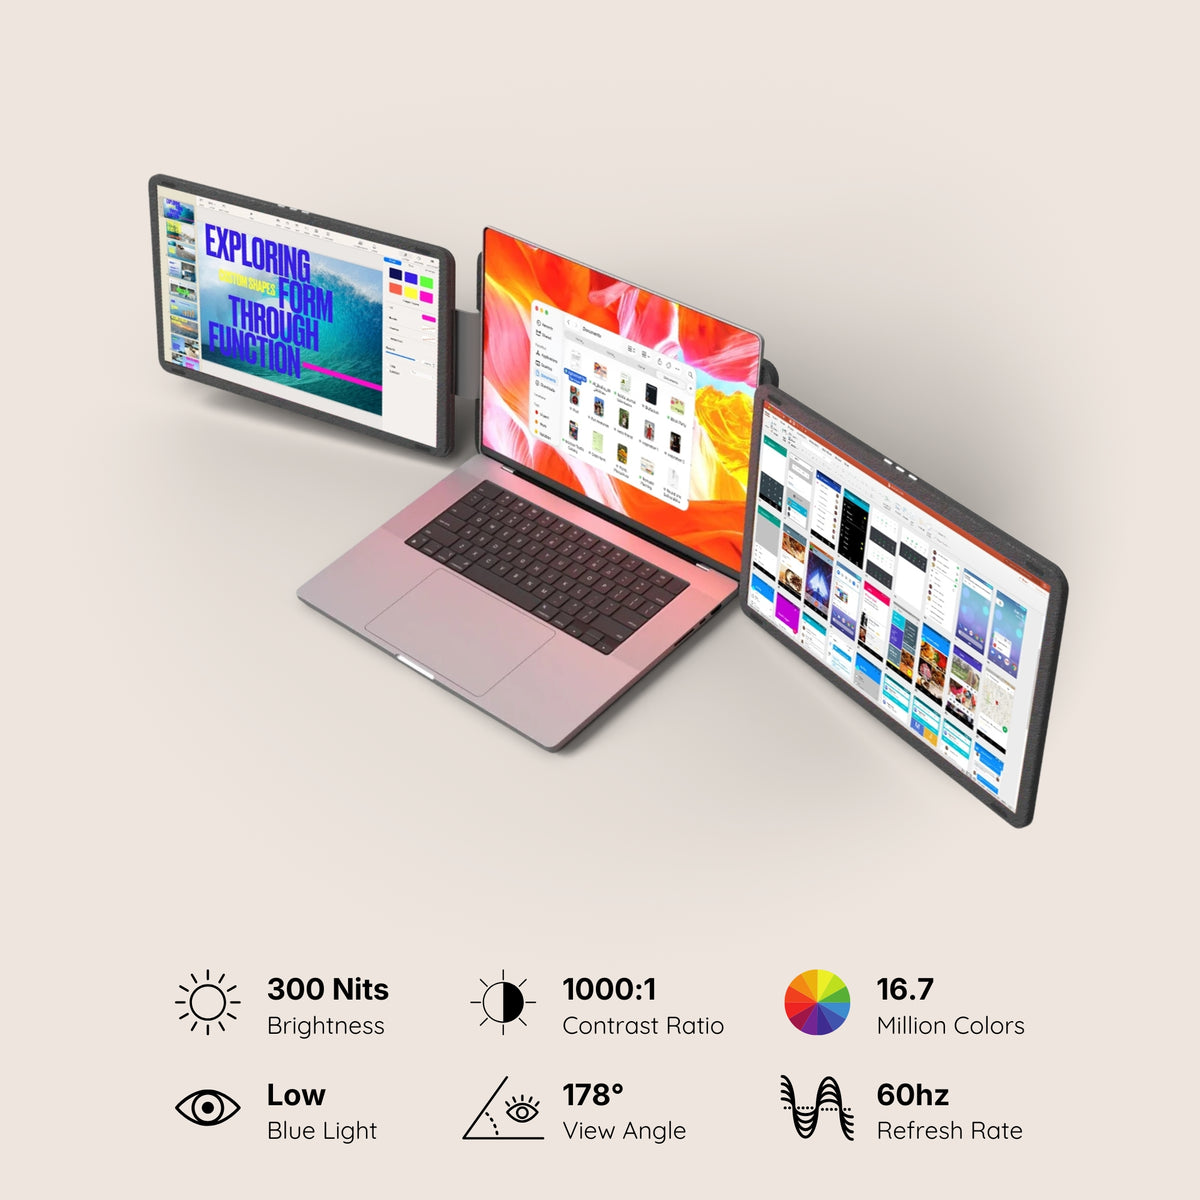
A screen with a bright window behind it makes your eyes fight a backlight all day; a screen facing the window catches glare. Portable panels sit around 300 nits — comfortable in a normal room, and outmatched by direct daylight. Turn the desk so the window is to your side, not ahead of or behind your screens. This one change does more for eye comfort than any panel upgrade, and it costs nothing.
Master window management before you add a third screen
Here is the counter-intuitive part: a lot of people who think they need a third screen actually need a second desktop. Before you spend money, learn the tools already on your machine.
- macOS — use Mission Control to add a second desktop (Space) and swipe between them with three fingers or Ctrl + →/←. Drag a window to the top of the screen to send it to its own Space. Split View (hold the green button) tiles two apps to a clean half-and-half.
- Windows — Win + Z opens Snap Layouts to drop windows into halves, thirds or quadrants; Win + arrow snaps the focused window. Win + Ctrl + D makes a new virtual desktop, and Win + Ctrl + →/← moves between them.
A dedicated virtual desktop for “communication” — mail, chat, calendar — kept off your working screens often replaces the third physical panel entirely. Try it for a week before you buy one.
If you do want another screen for the reset
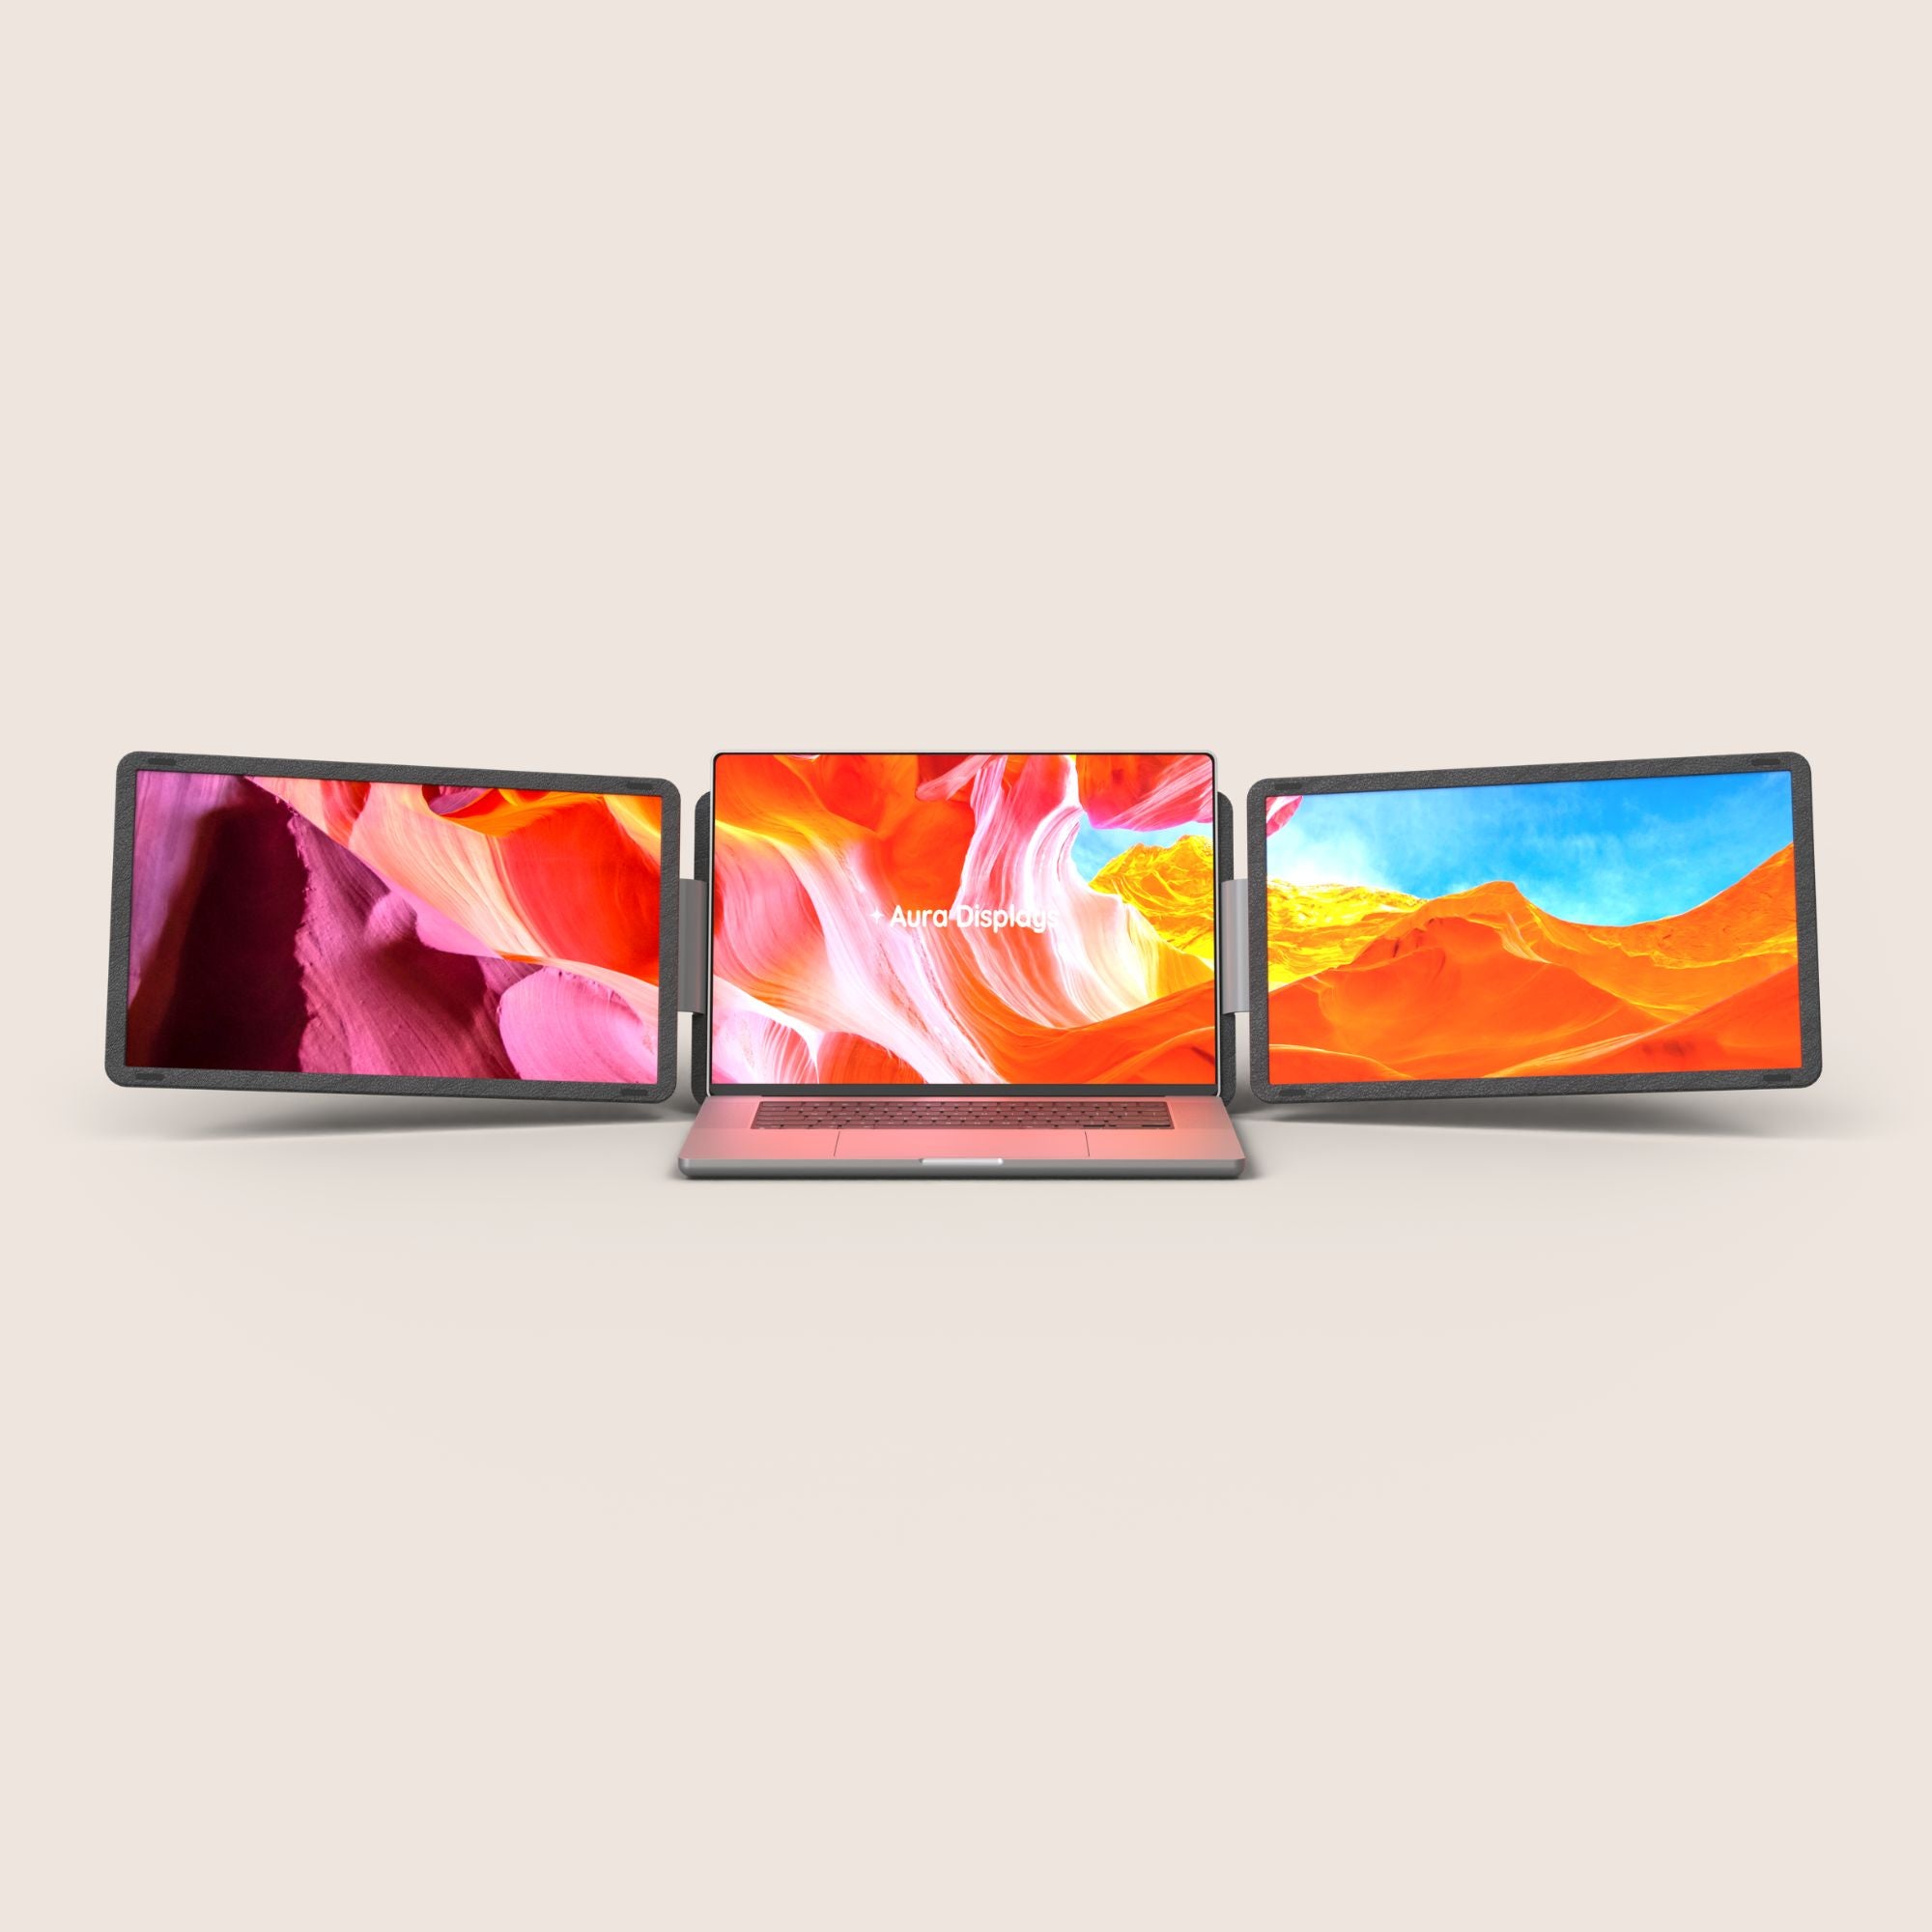
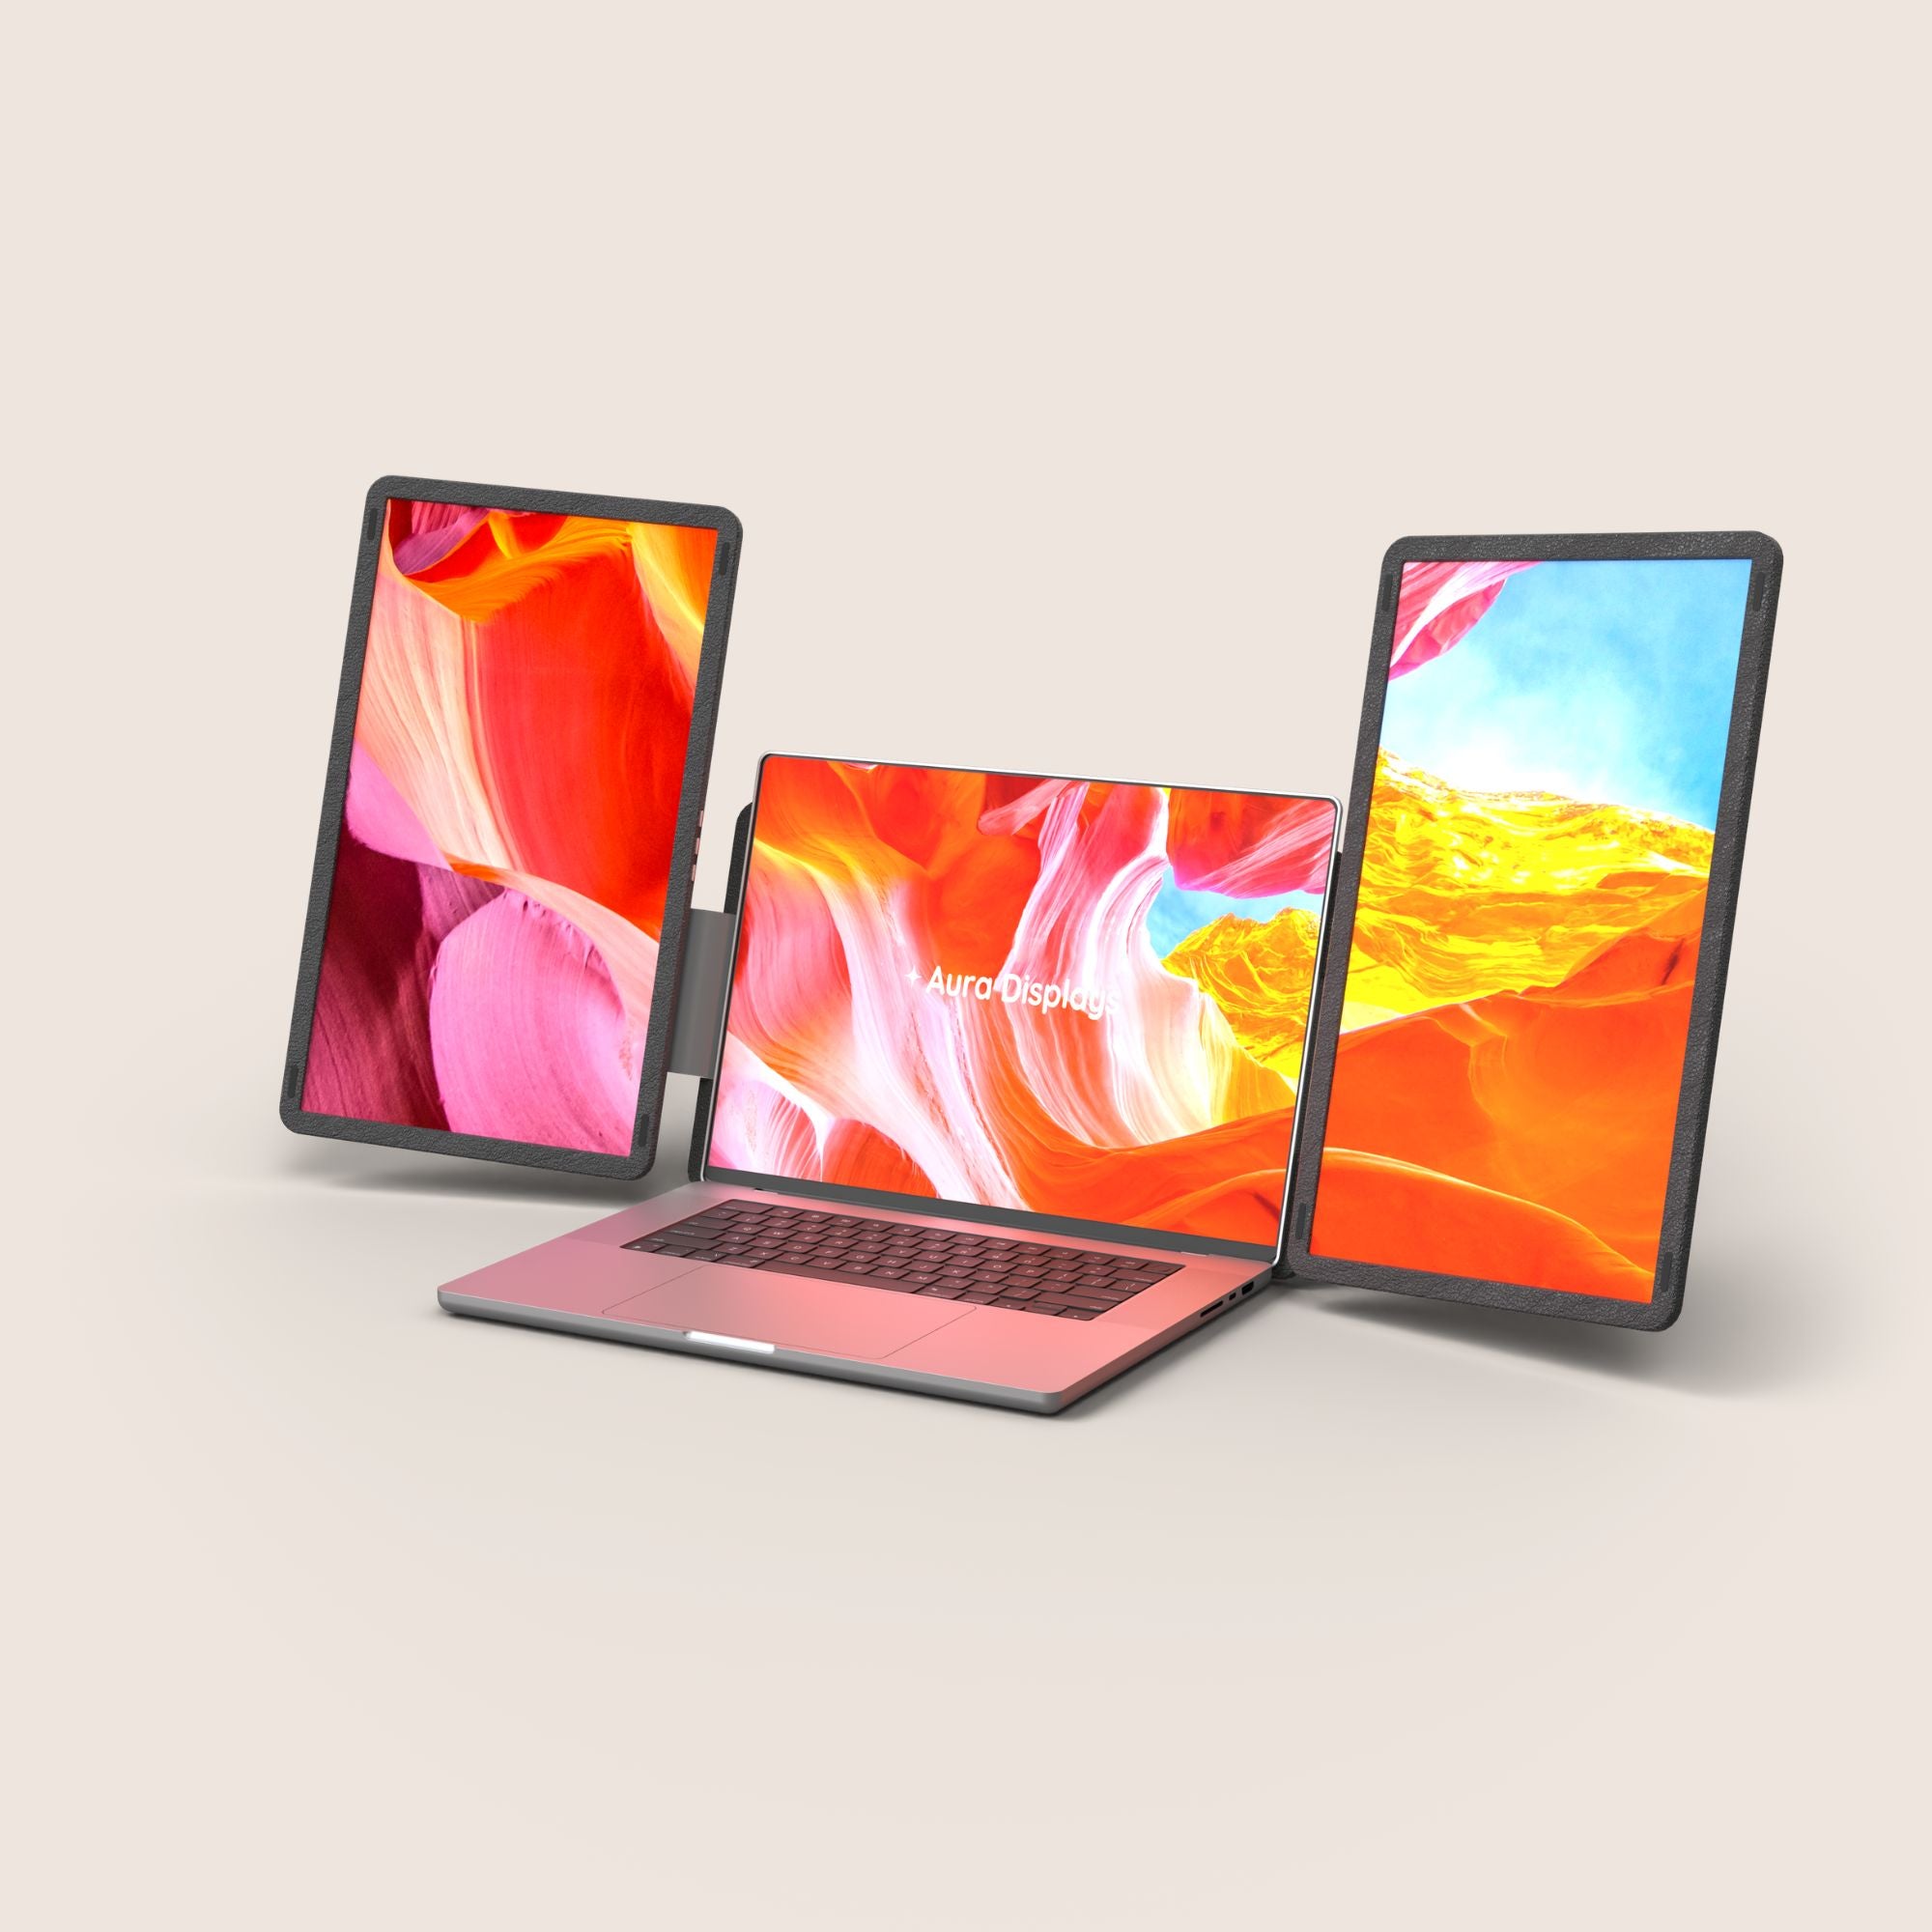
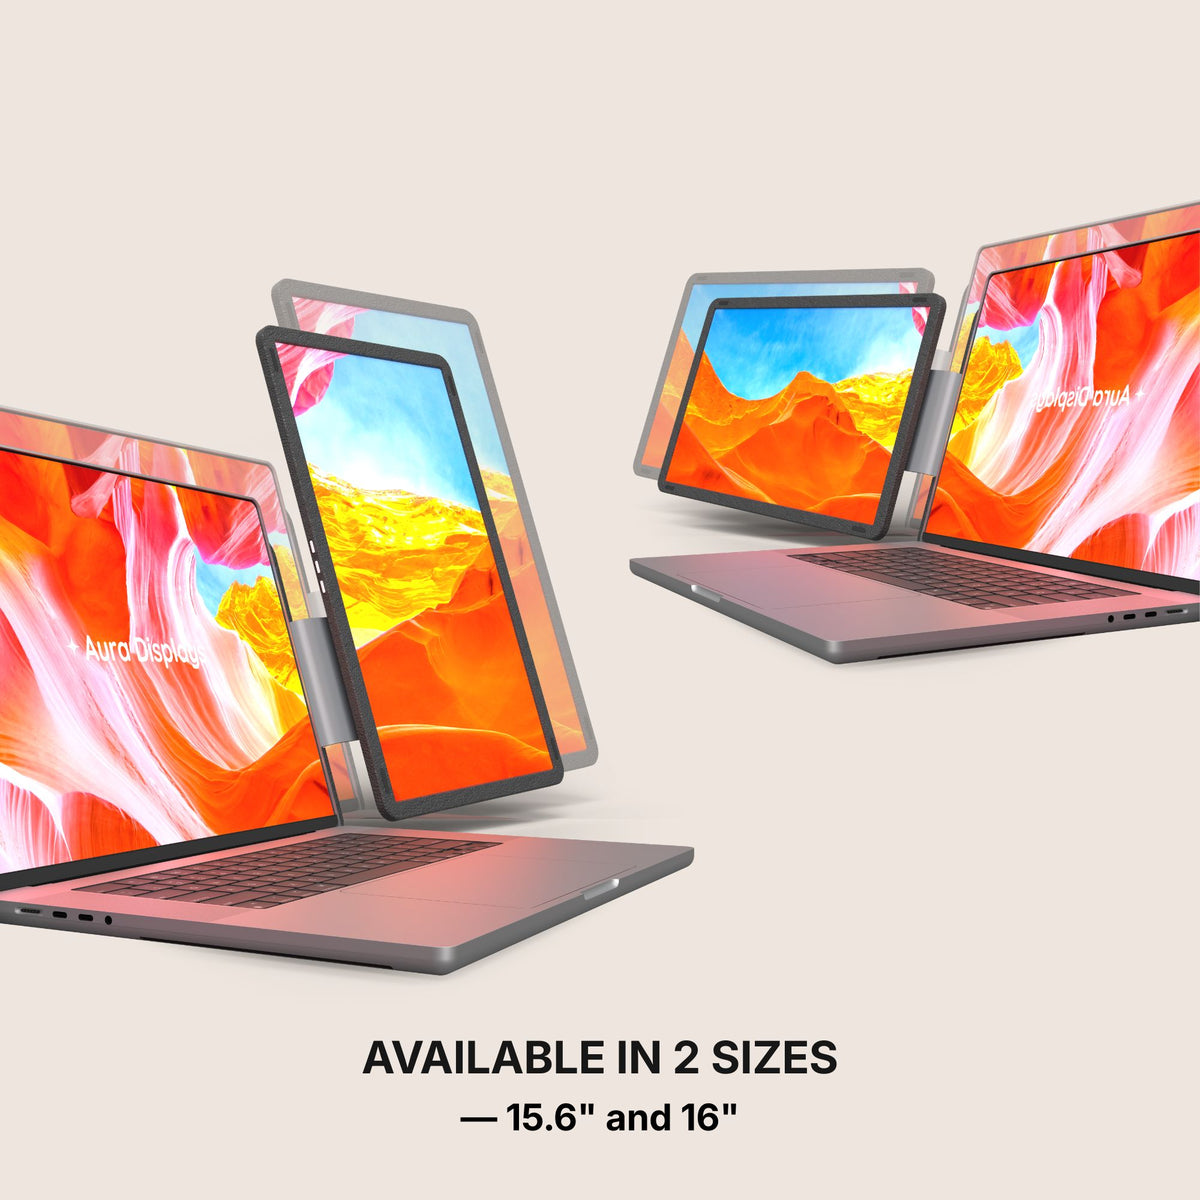
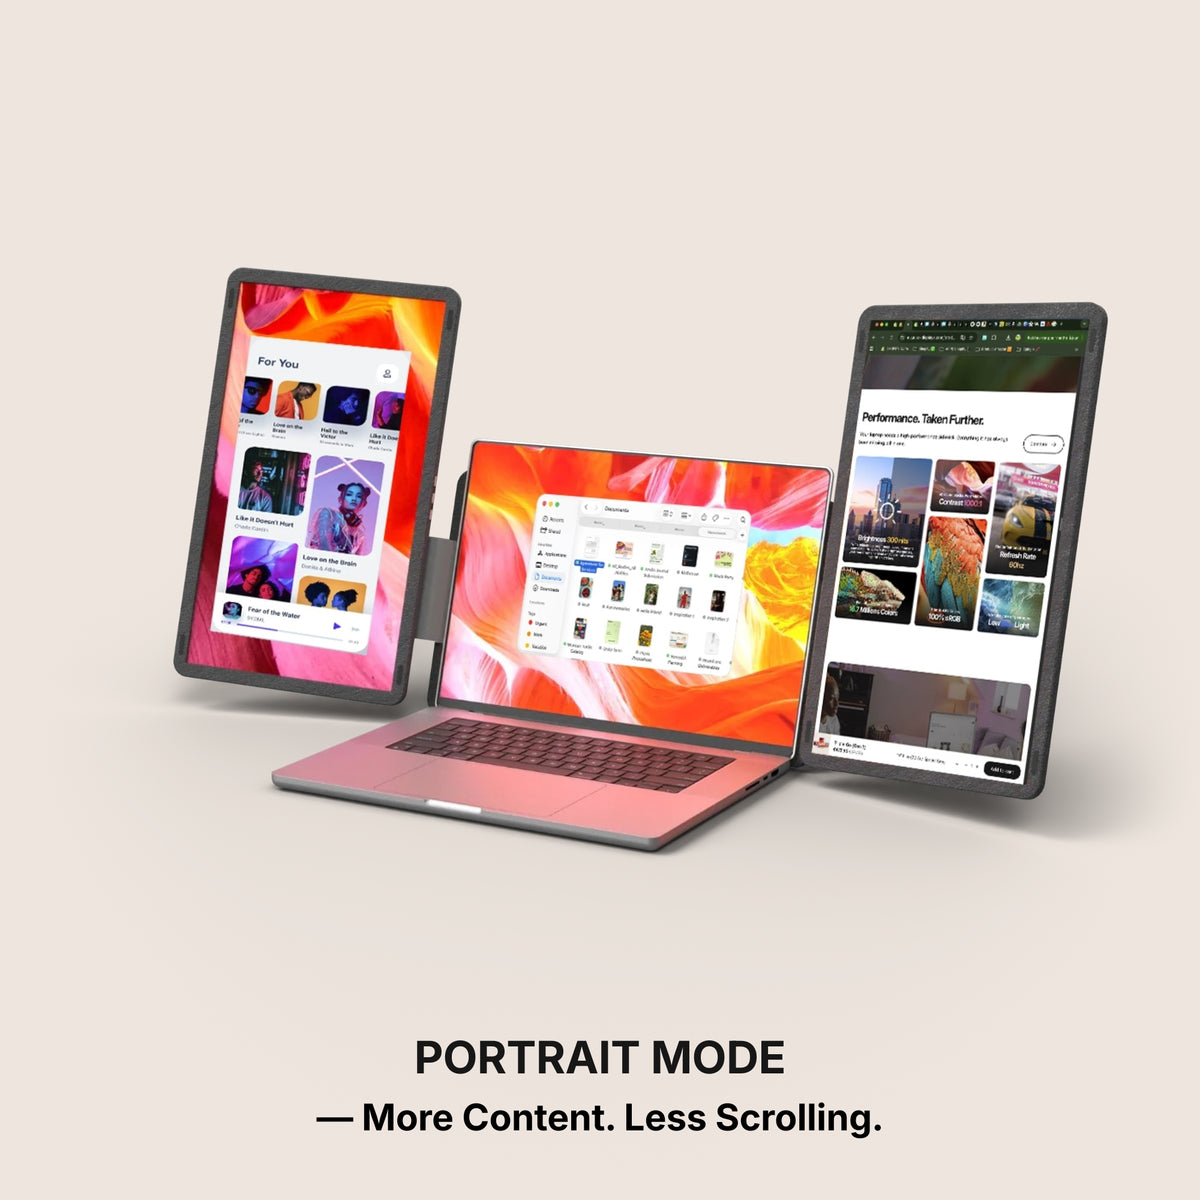
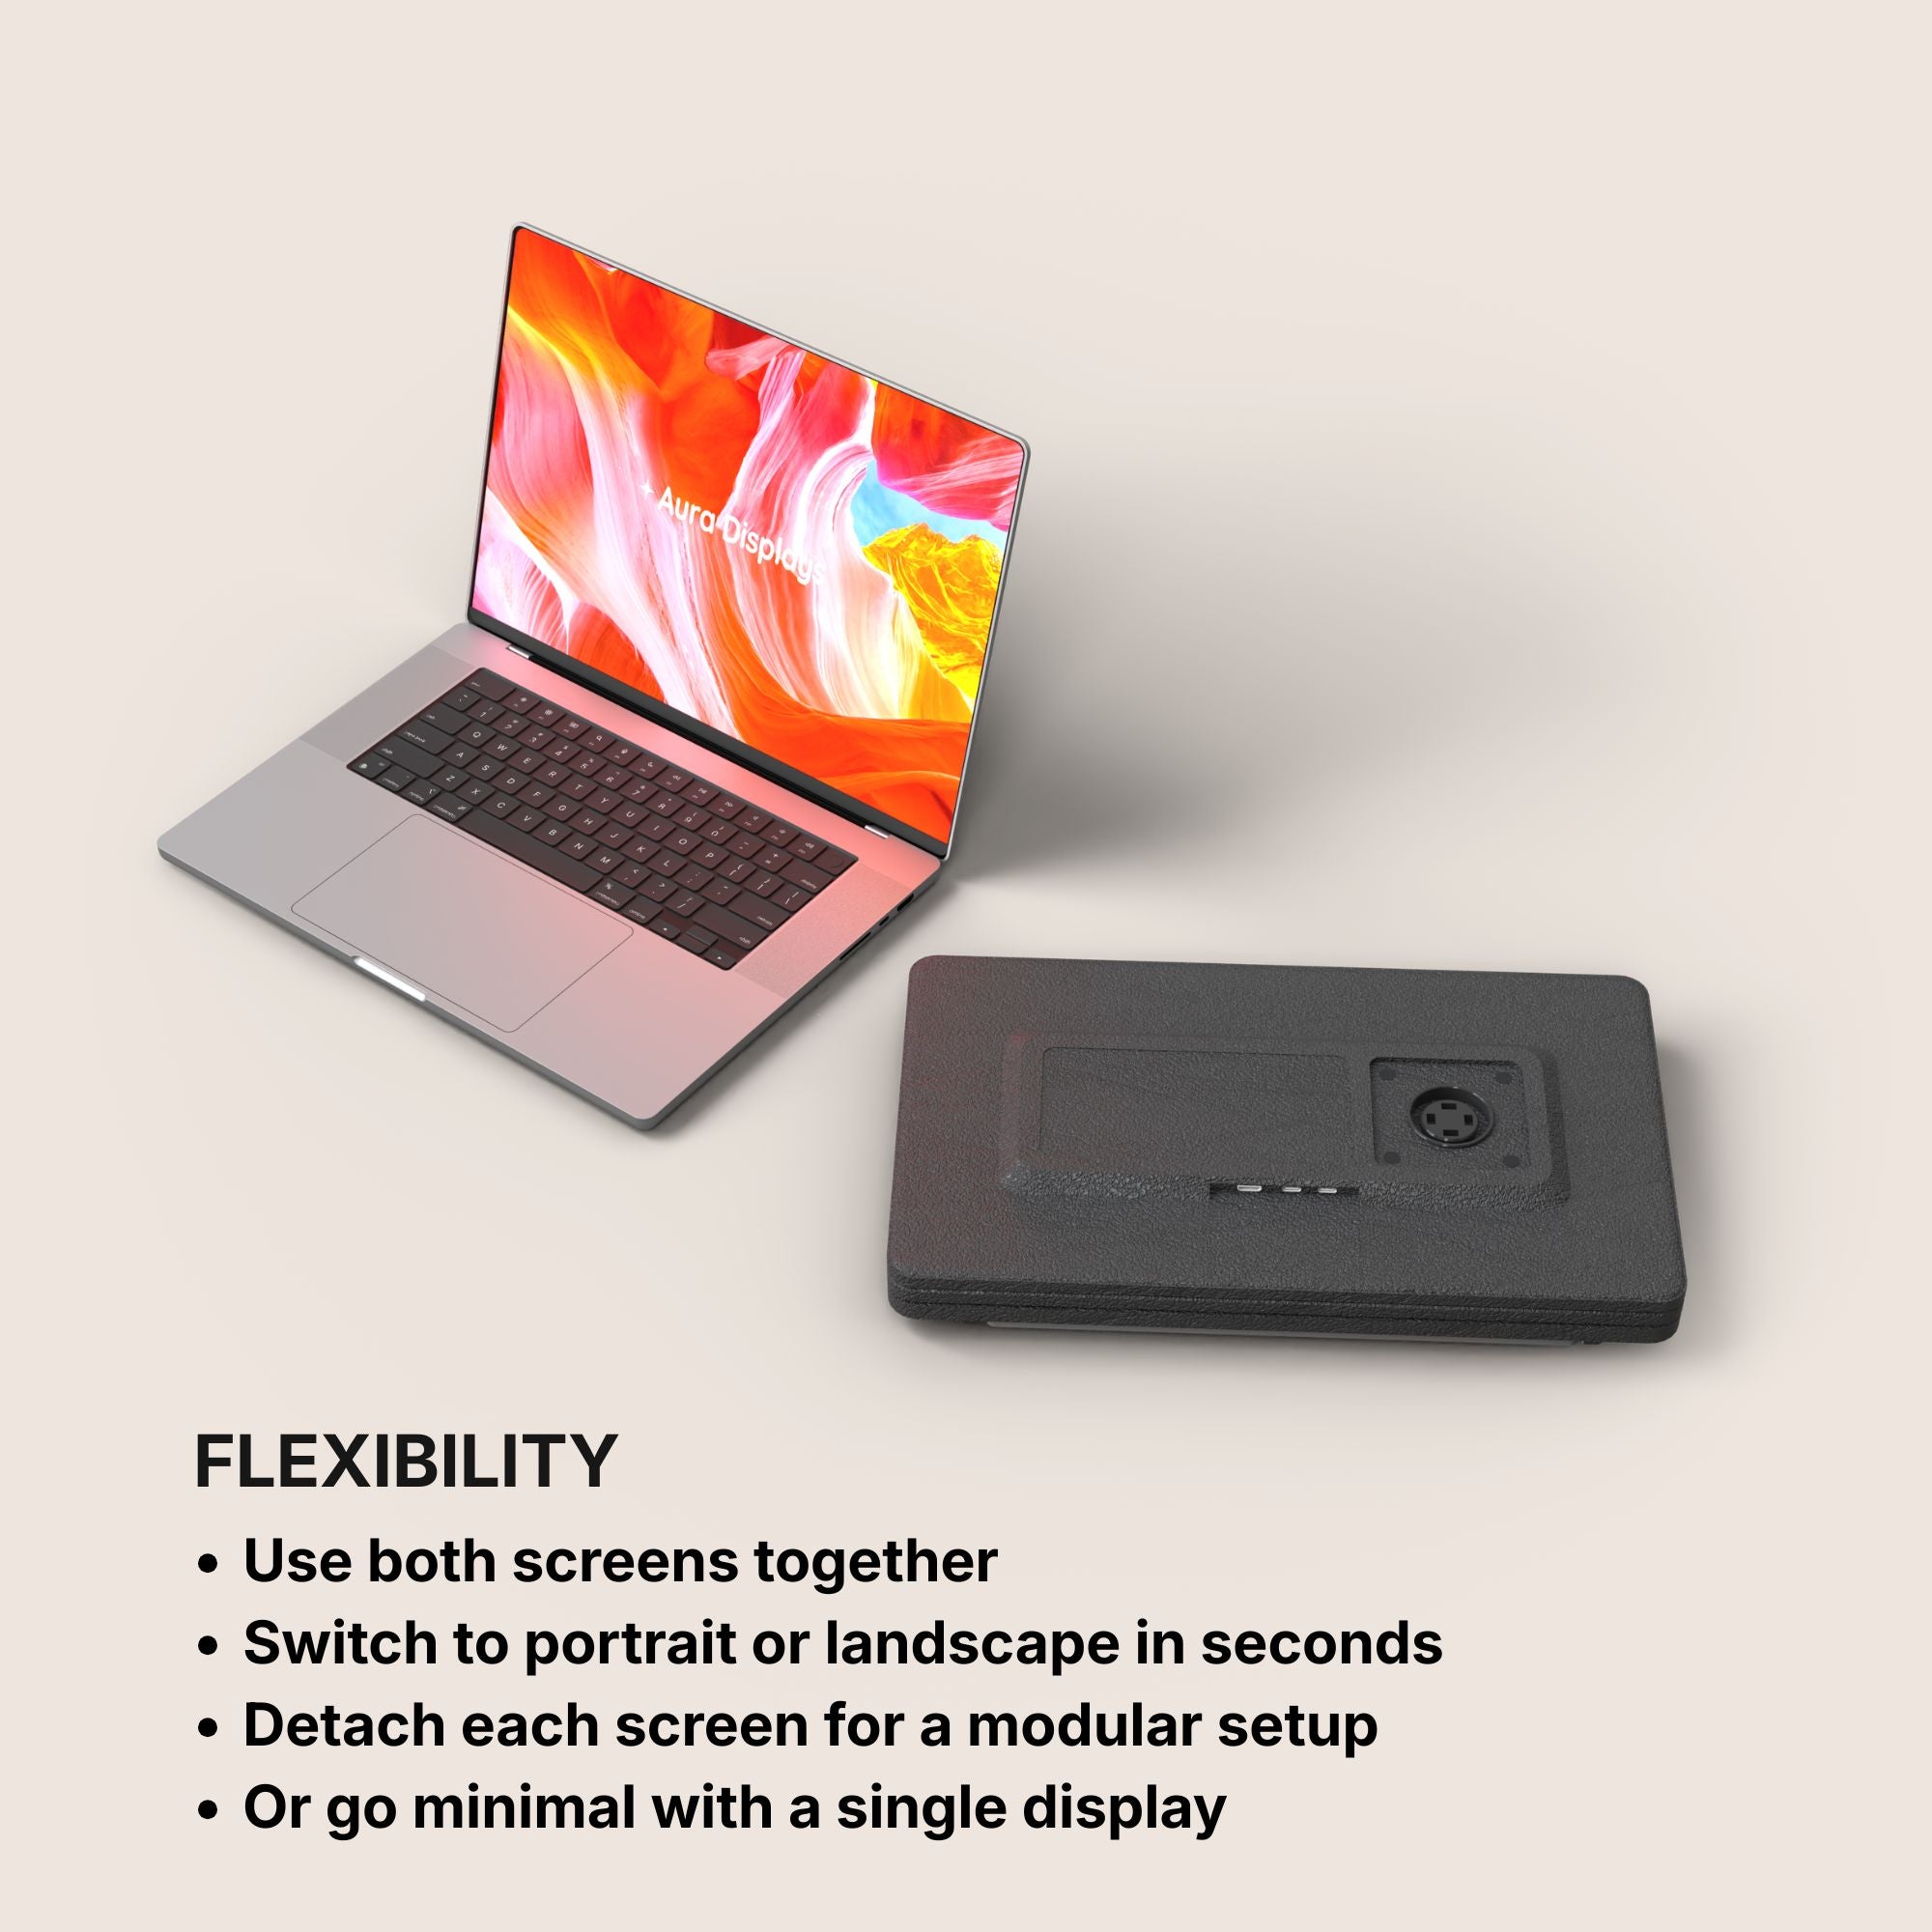
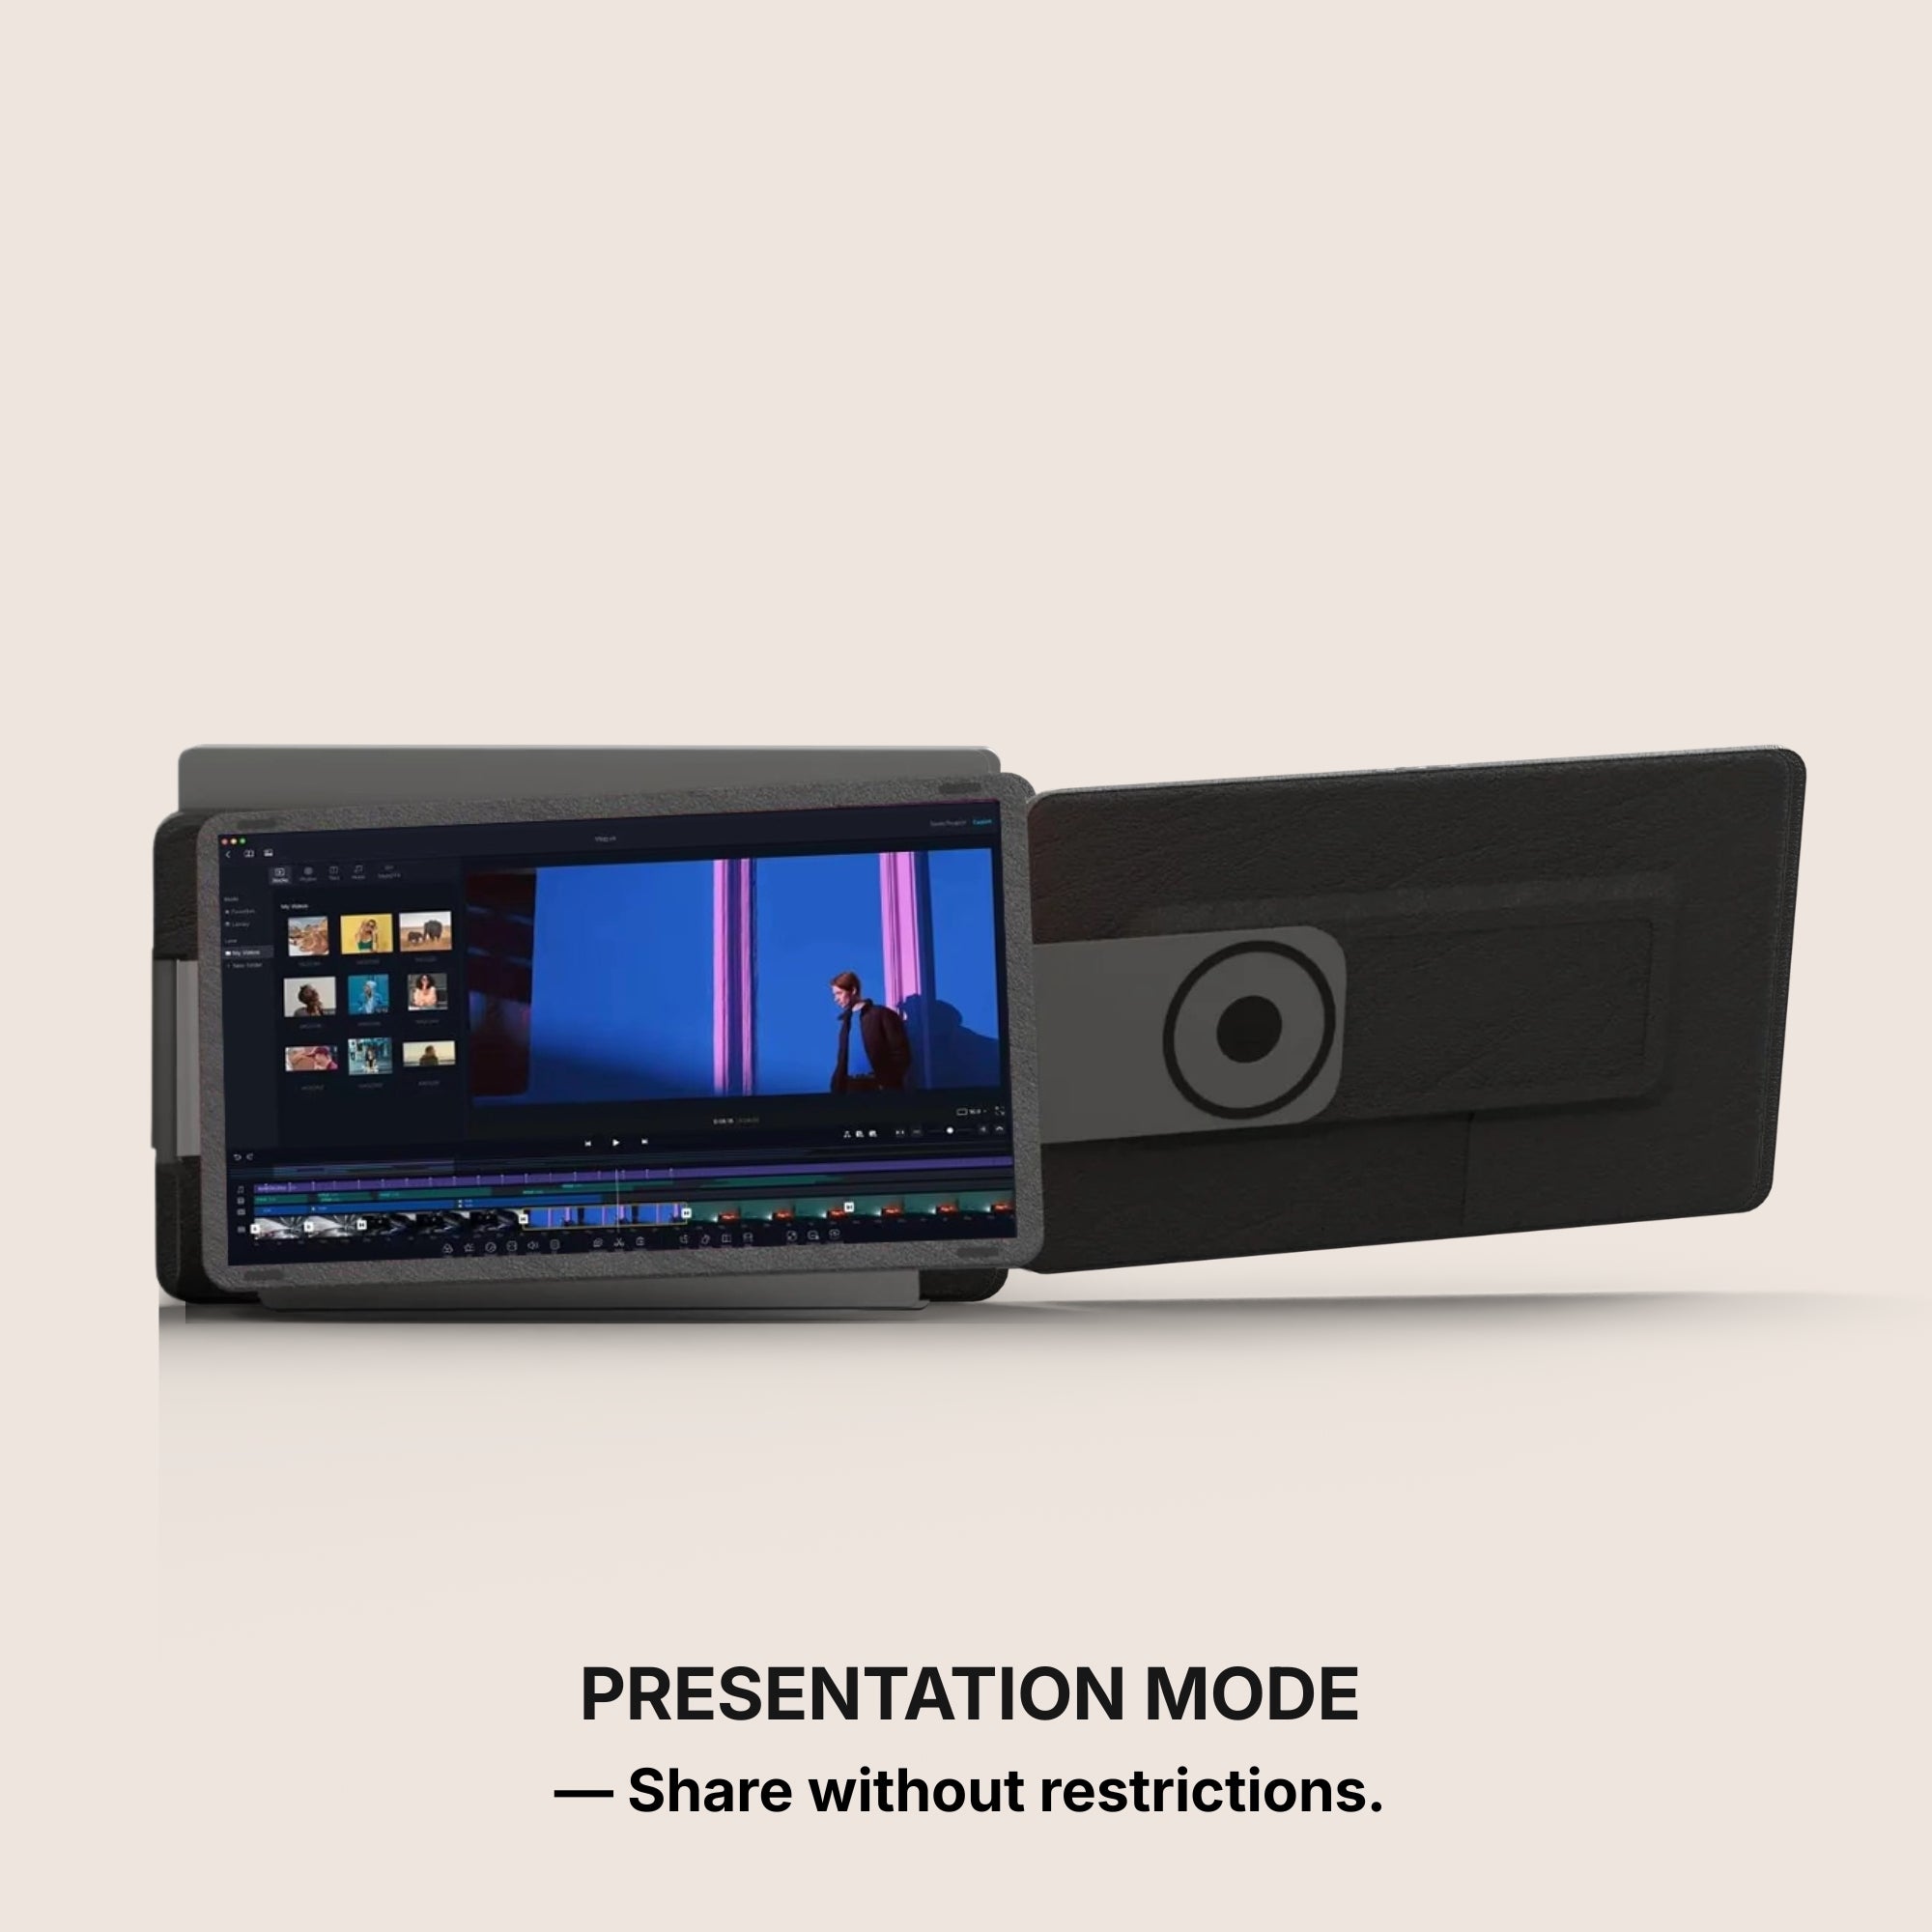
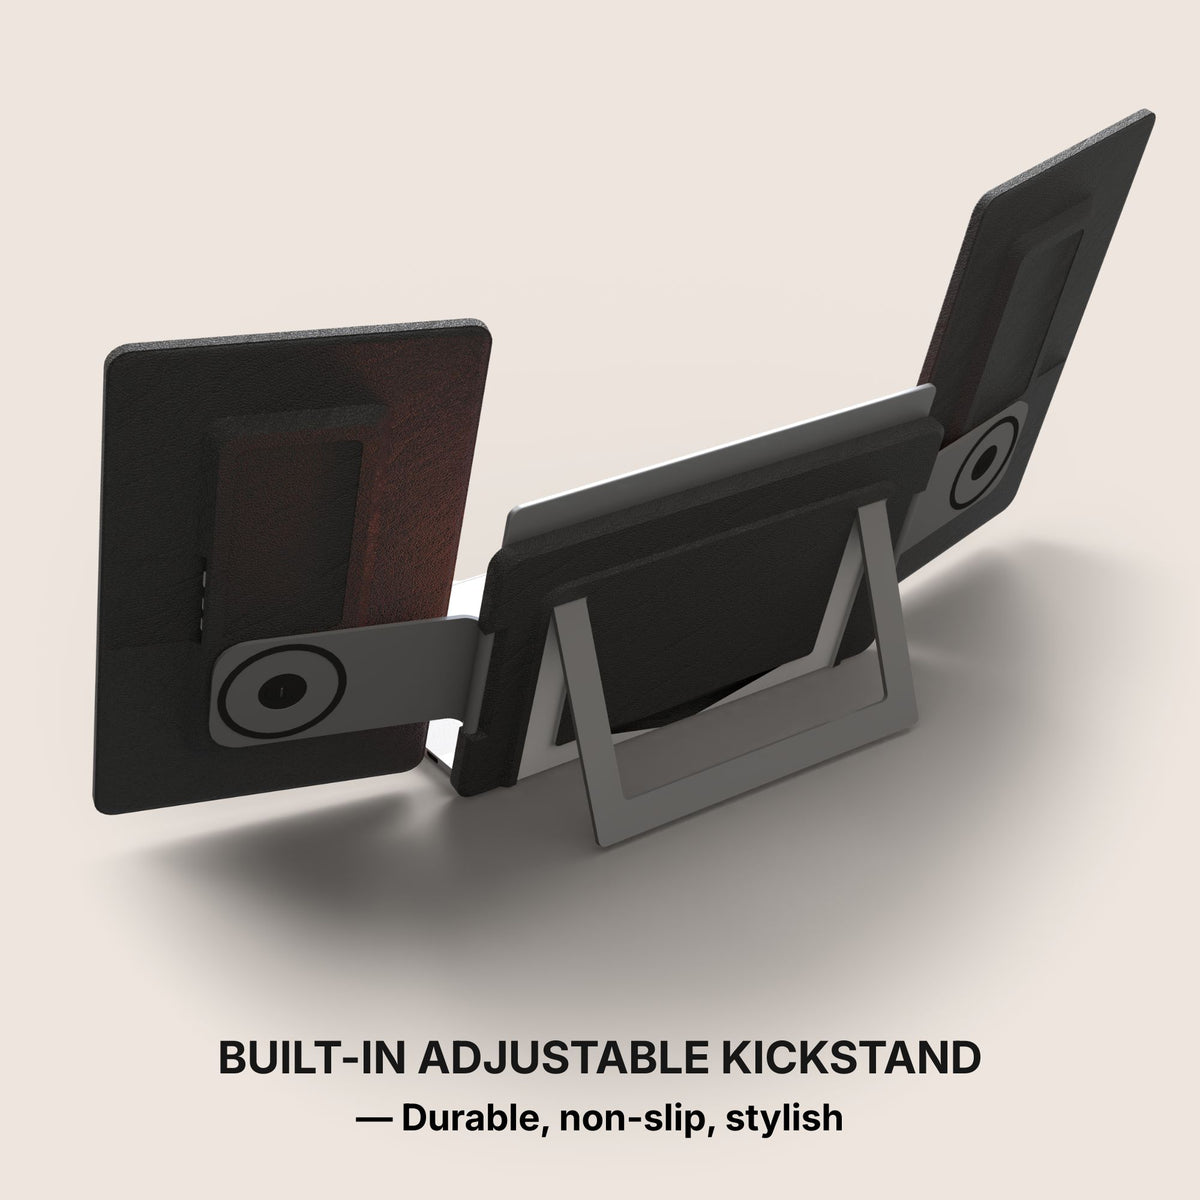
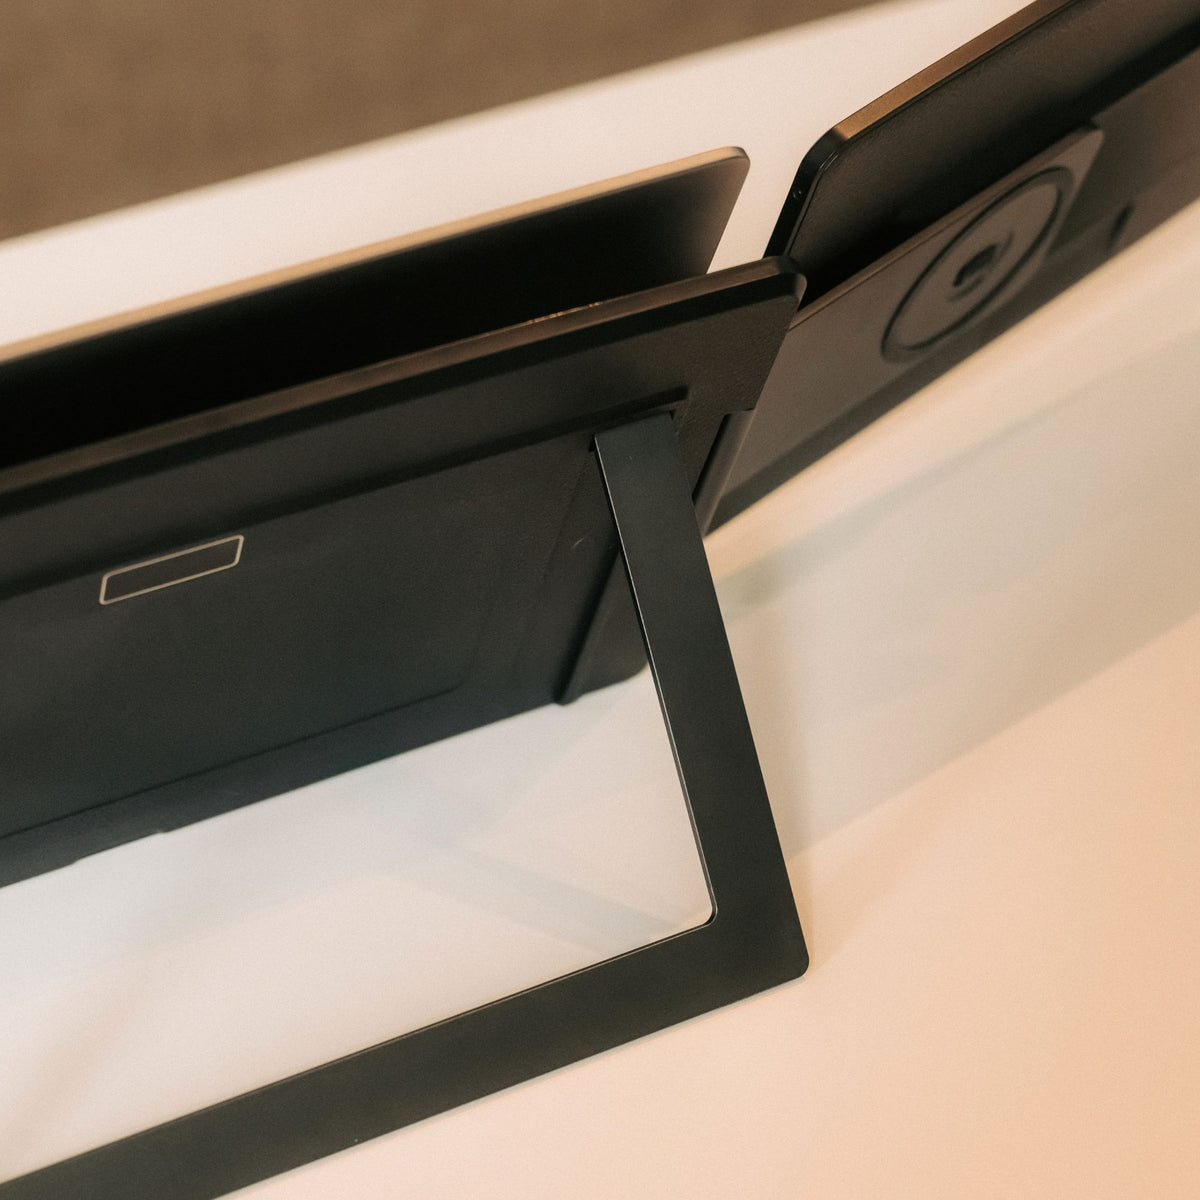
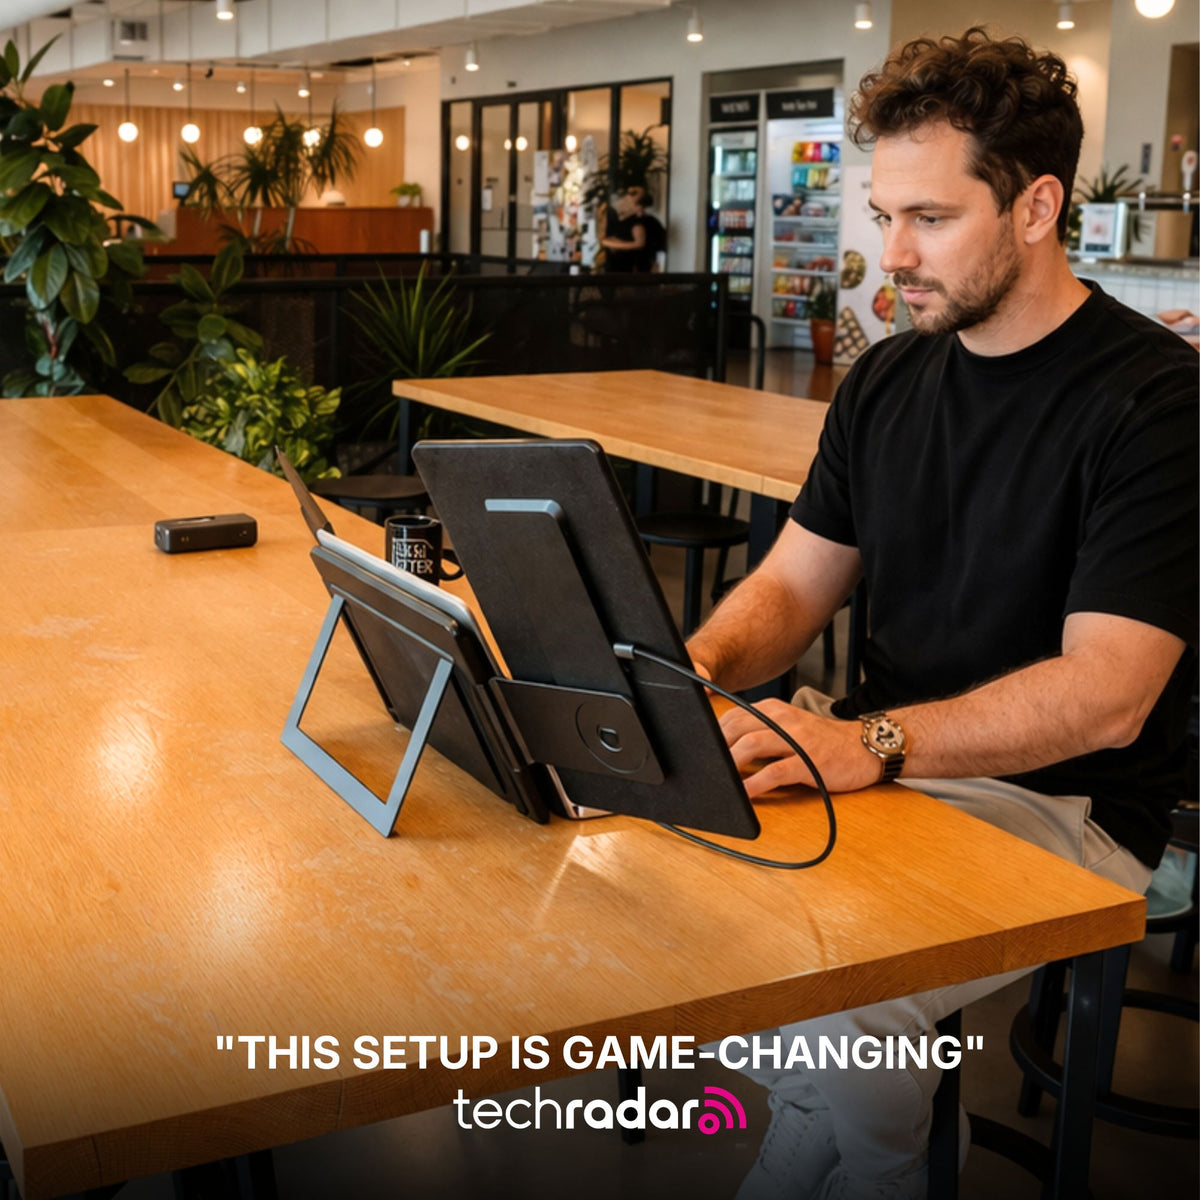
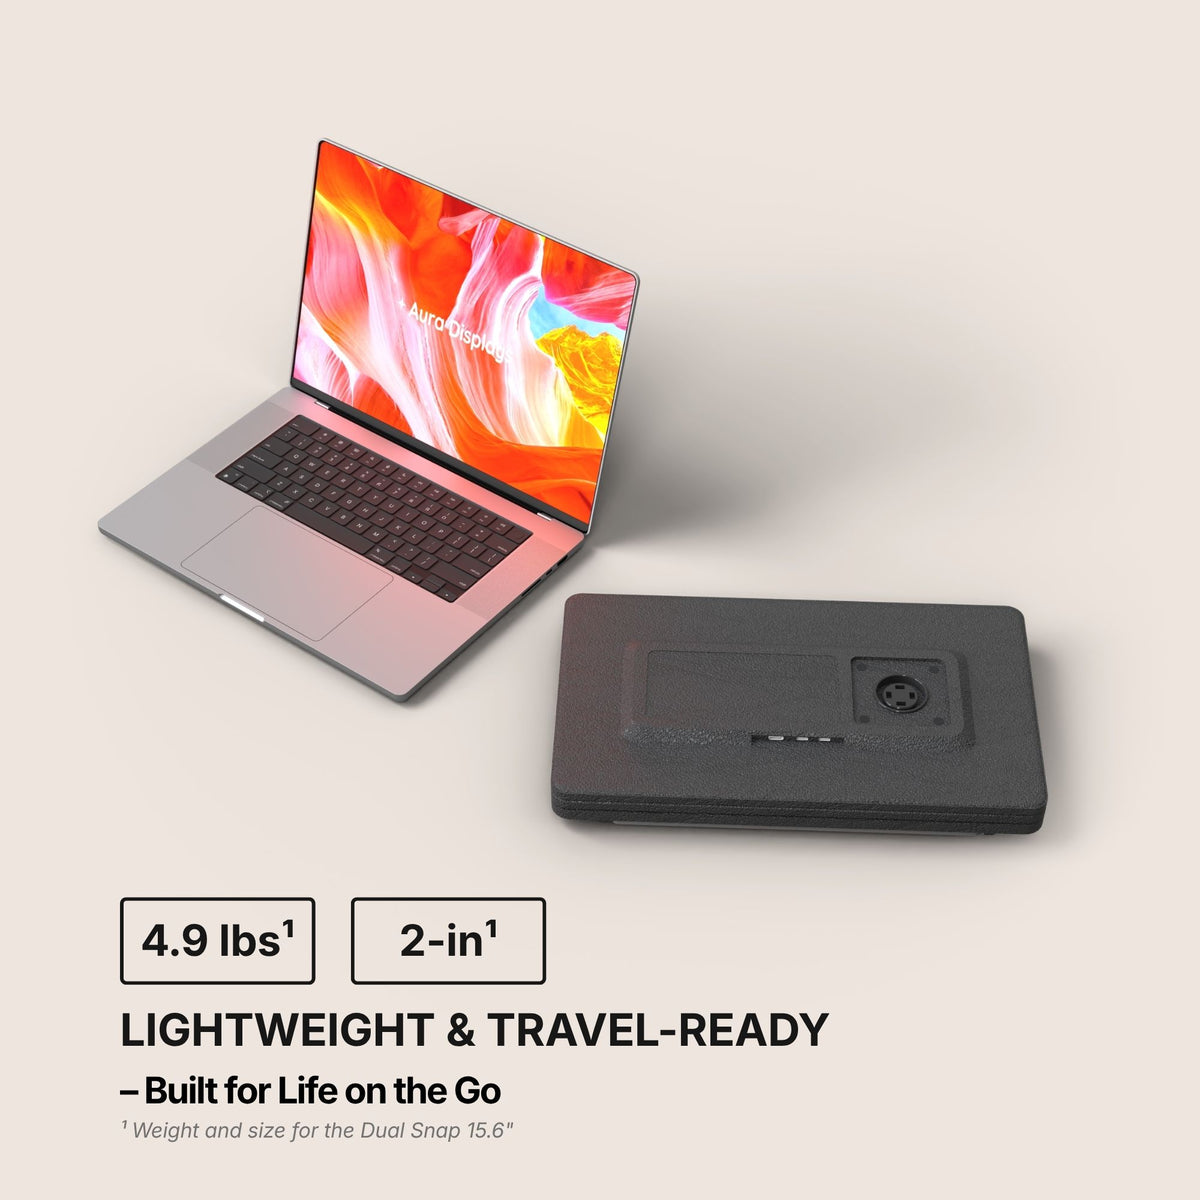
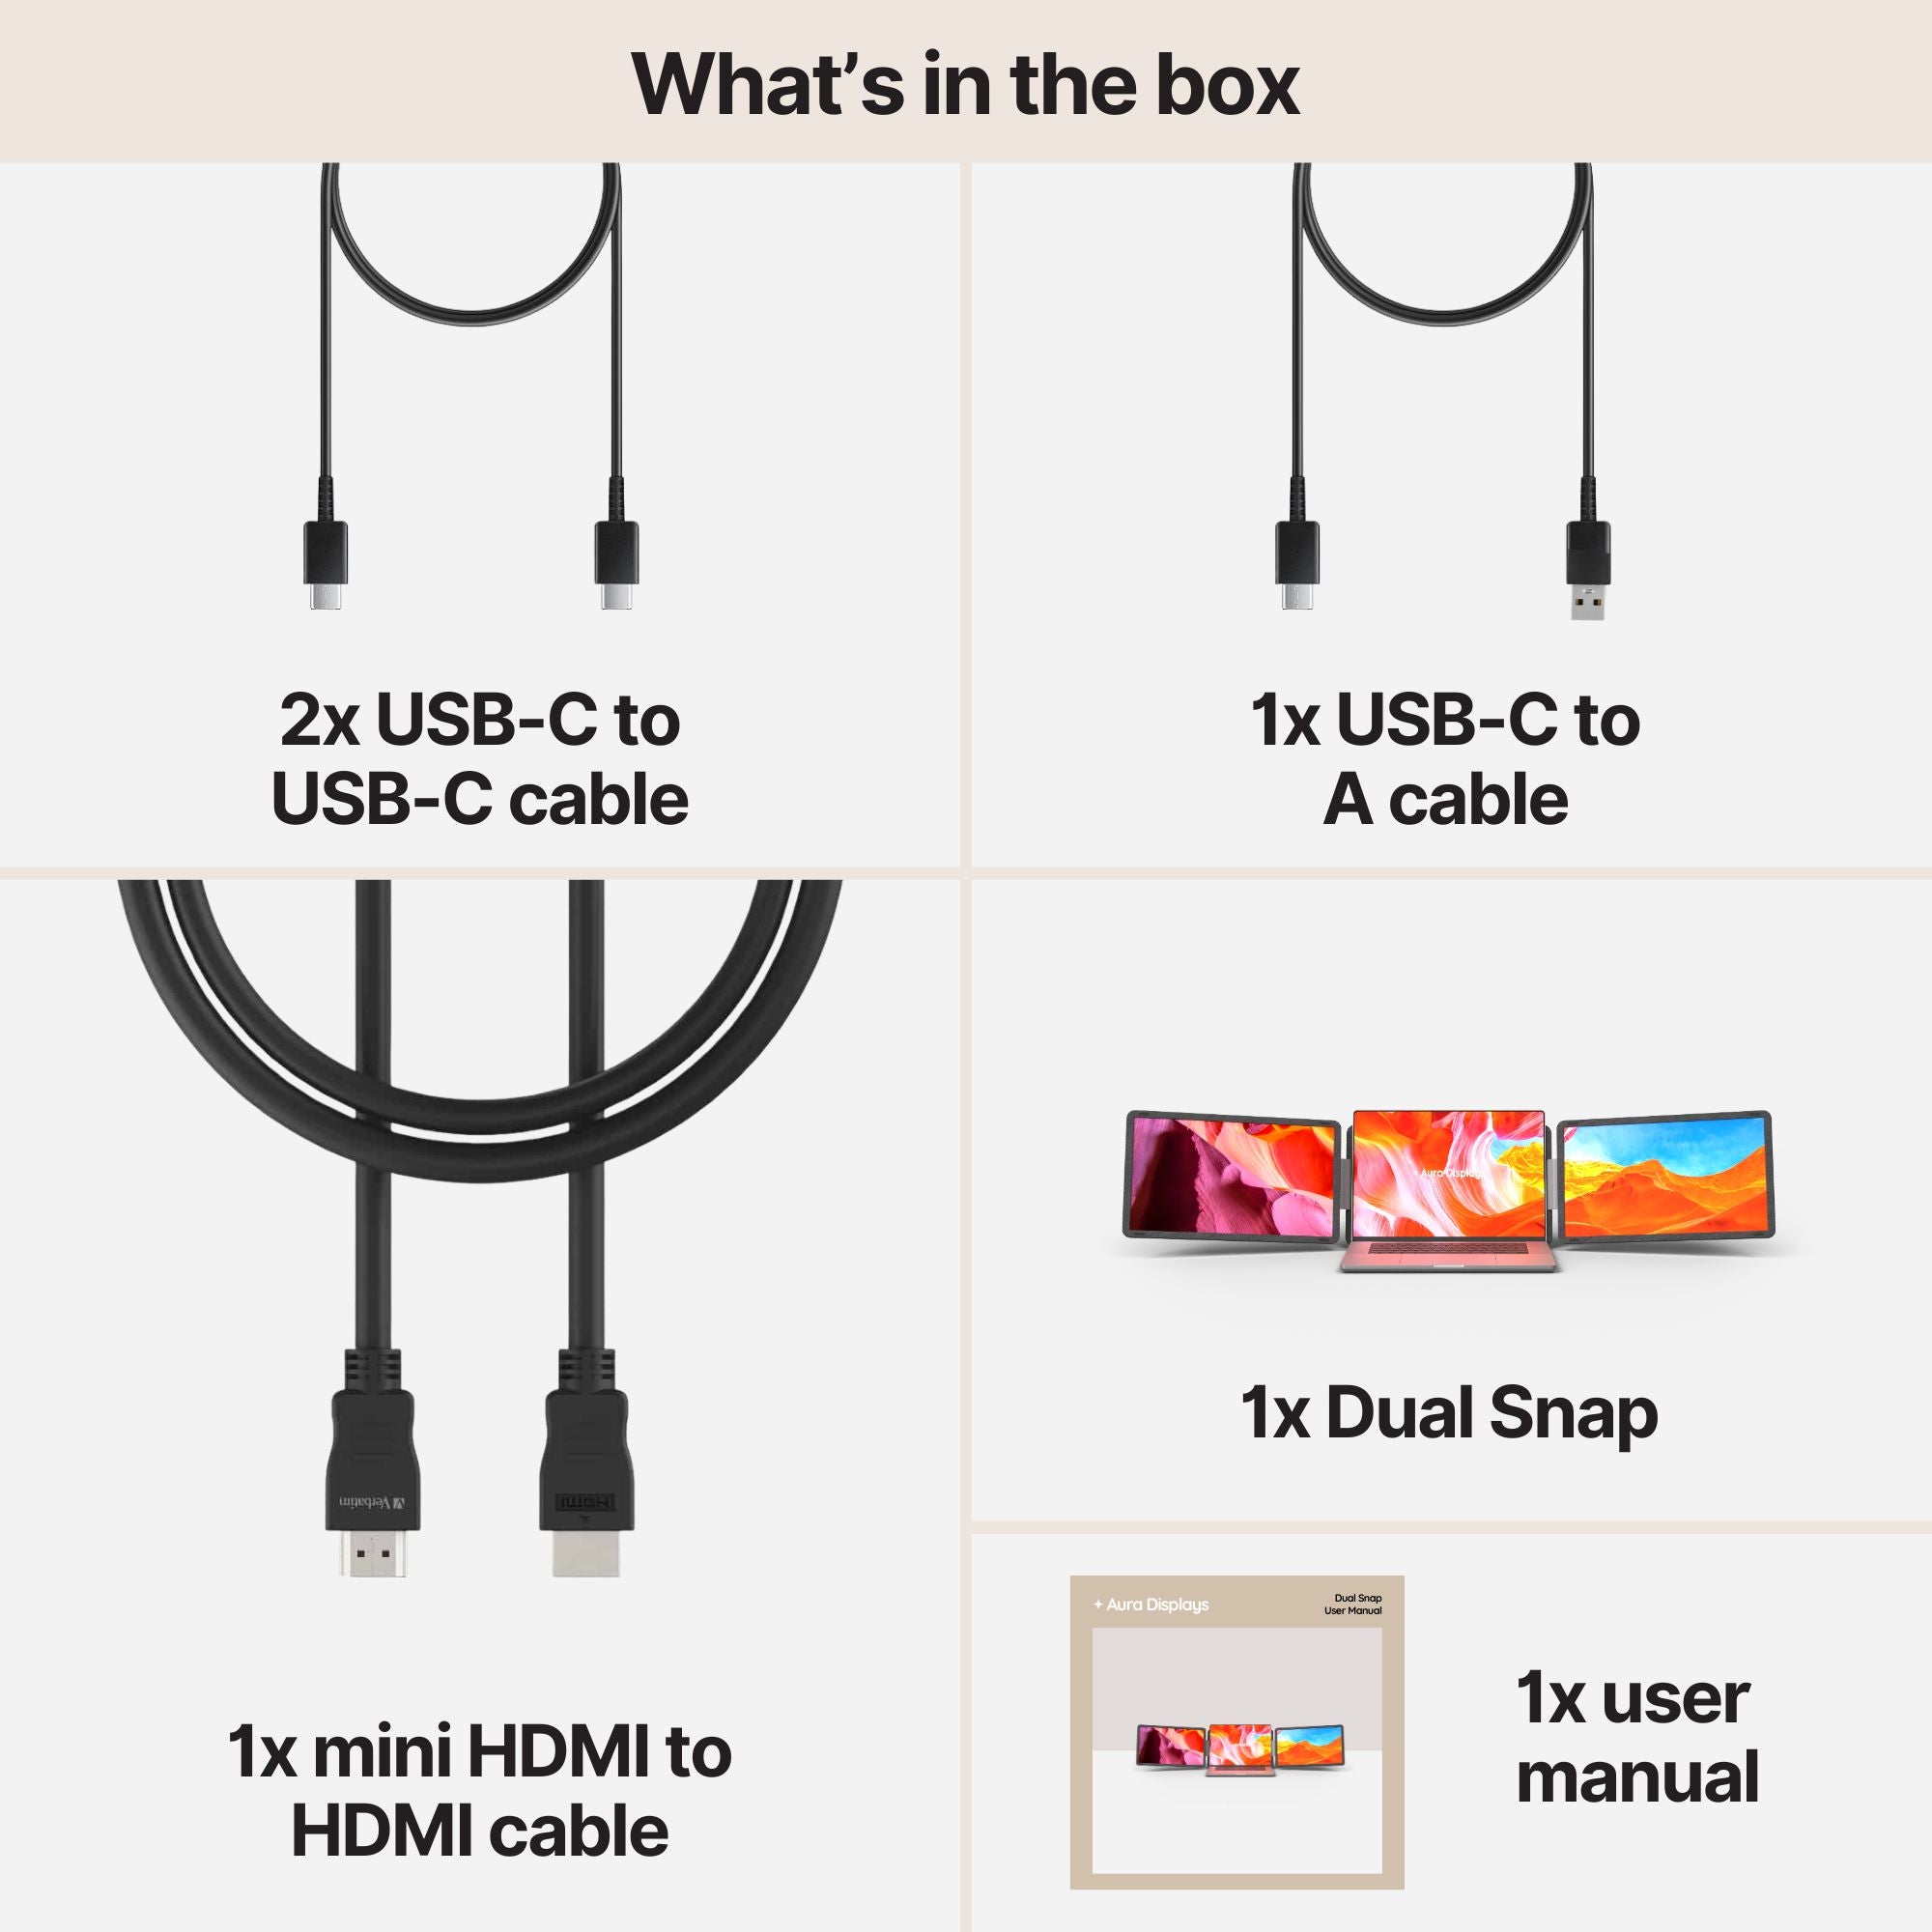
When the honest answer is that you genuinely run out of room, the setup we would put on a back-to-work desk is the Dual Snap, from $409. Its panels mount magnetically, which is exactly what makes the 30-degree angling above easy to dial in, and it is plug and play — no software, no driver — so it works on a locked-down work laptop, a Chromebook or a Linux machine that would refuse anything you had to install.
Two honest notes. If you only ever wanted one extra surface, the Single Play at $289 does that for less and is the lighter buy. And do not reach for a triple just because it is the reset season — a third panel you only glance at adds weight and setup time without changing your day. At 300 nits the Dual Snap is a room-light screen, not a sunny-patio one, which loops back to the same rule: keep the window to your side.
Reset first. Measure the arm's length, angle the second screen, move the window off your eyeline, and learn your desktop shortcuts. Then, and only then, decide whether you are actually short a screen.






















Share: